Local Storage Add and Retrieve using Javascript
Submitted by nurhodelta_17 on Monday, January 29, 2018 - 21:30.
Accessing Local Storage
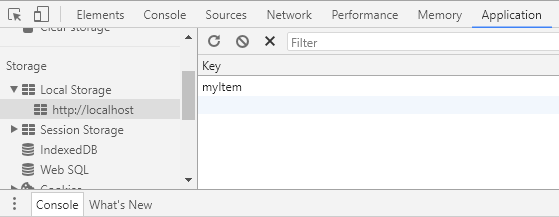
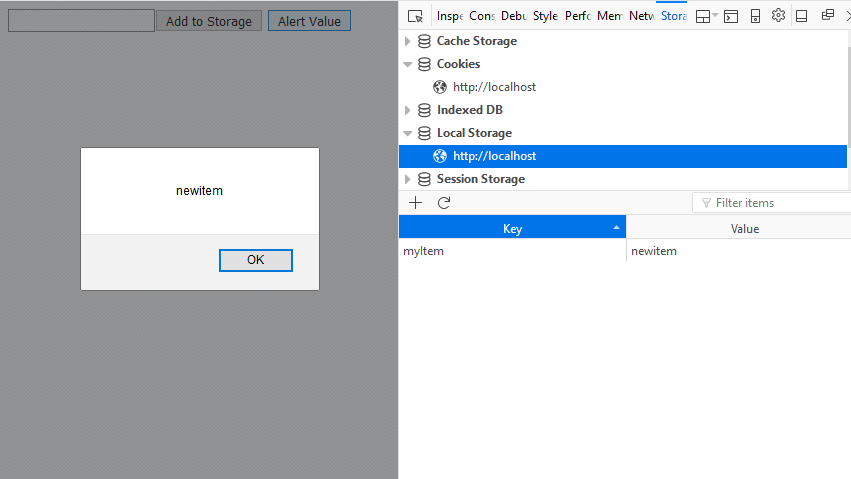
Chrome: To access Local Storage in Chrome, do the ff steps: 1. Go to the page that you want to open local storage. 2. Press F12 console command and click Resources or Application. 3. Click local storage and click the name of the site. Firefox: To access Local Storage in Firefox, do the ff steps:
1. Go to the page that you want to open local storage.
2. Press F12 console command and click Storage.
3. 3. Click local storage and click the name of the site.
 As you can see, local storage consist of two columns. The first column is the key, then the second column is the value.
Creating our Example
This is the Full HTML of our example.- <!DOCTYPE html>
- <html>
- <head>
- </head>
- <body>
- <script type="text/javascript">
- function addStorage(){
- var input = document.getElementById("myInput");
- var item = input.value;
- localStorage.setItem("myItem", item);
- input.value = '';
- }
- function retrieveStorage(){
- var item = localStorage.getItem("myItem");
- alert(item);
- }
- </script>
- </body>
- </html>
Add new comment
- 157 views

