Importing CSV File to MySQL using PHP with Bootstrap Templates
Submitted by alpha_luna on Tuesday, September 27, 2016 - 13:52.

If you are looking for Importing CSV File to MySQL using PHP with Bootstrap Templates then you are at the right place. We all know that CSV file format used to import or to export the table data. Every line from the CSV file format indicates one field for the data table in the database. For inserting data one by one to the MySQL Table, it's very time consuming to do that, instead of this procedure you can use the importing file using CSV File Format to insert a bundle of data just in one process in your web page.
In this tutorial, we are going to show or to learn on how to import data using CSV File Format to MySQL Database Table using the PHP Programming Language.
Let's start to create our database table.
Database Connection
This simple PHP query helps us to connect and select the database. Save it as "database.php".
Create Markup
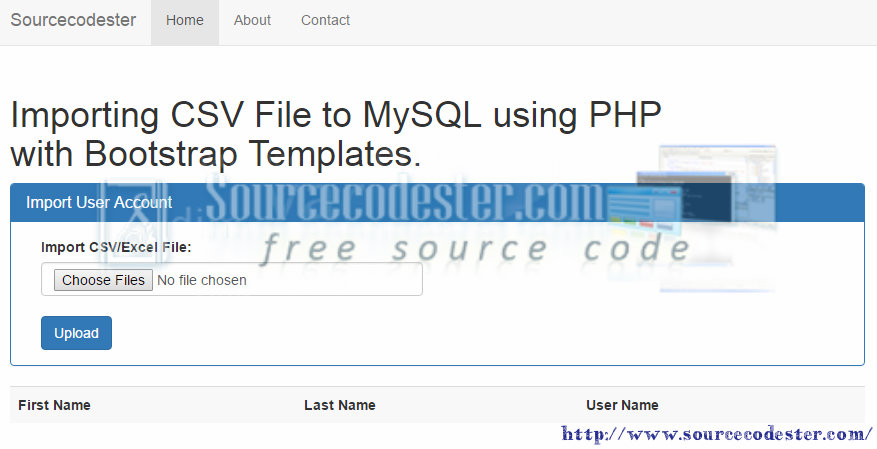
We have to create simple markup for the importing data. Take a look the source code below and study.
To view the data from the database, we have simple source code that we construct to display to your web page. Copy and paste it to the BODY tag of your web page.
PHP INSERT Statement
This is the simple query for Importing CSV File to the MySQL Database. Take a look the source code below and try to study it.
 For the beginners who really want to learn how to codes in PHP, this tutorial will help you to your future projects and you can implement the Importing Data Function in your web projects.
- Open the PHPMyAdmin.
- Create a database.
- After creating a database. Kindly click the SQL below, copy and paste to your PHPMyAdmin to create a table.
- CREATE TABLE `user`
- (
- `user_id` INT(11) NOT NULL,
- `user_name` VARCHAR(100) NOT NULL,
- `first_name` VARCHAR(100) NOT NULL,
- `last_name` VARCHAR(100) NOT NULL,
- `date_added` DATETIME NOT NULL
- )
- engine=innodb
- DEFAULT charset=latin1;
- <?php
- ?>
- <?php
- {
- include ('CSV_row_Database.php');
- // Import uploaded file to CSV_row_Database
- {
- values('$CSV_row_Data[0]', '$CSV_row_Data[1]', '$CSV_row_Data[2]', NOW())");
- }
- // print "Import done";
- echo "<script type='text/javascript'>alert('Successfully Imported a CSV File for User!');</script>";
- echo "<script>document.location='index.php'</script>";
- // view upload form
- }
- ?>
Output
For the beginners who really want to learn how to codes in PHP, this tutorial will help you to your future projects and you can implement the Importing Data Function in your web projects.Add new comment
- 1102 views