TUTORIAL NO 2
Text Space Remover
In this tutorial you will learn:
- Event handling
- Layout Manager
- JAVA awt basics
- JAVA swing basics
- Adapters
- Anonymous classes
- Using two separate classes
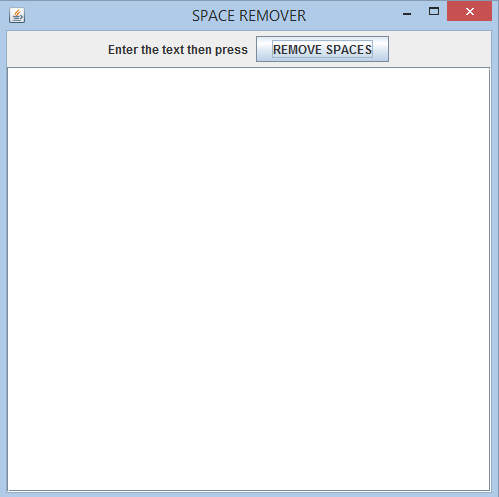
Very often I face a problem when copying from PDF that there are random spaces in the text. So I decided to make a simple app for text adjustment. In this tutorial I will teach you how to make unwanted text space remover.

In this tutorial we will be working in JAVA SWING. The first thing that we are going to do is setting up a JFrame and adding the required panels and Components.
Basic step:
Download and install ECLIPSE and set up a JAVA PROJECT. Then create a new class and name it SpaceRemover. Then follow the steps
1.IMPORT STATEMENTS
First of all write these import statements in your .java file
import javax.swing.*;
import java.awt.*;
import java.awt.event.*;
We require event import for mouse click , awt and swing imports for visual design. We will be using separate classes for JPanel and JFrame. First thing is setting up the panel and after that we will setup the frame. Then we will do composition i.e make and object of the panel class and add it to frame class.
2.SETTING UP THE PANEL CLASS
class Removerpanel
extends JPanel {
Create the panel class by extending it from JPanel (i.e Inheritence) and then create the text area , label and button finally making a scrollPane for automatically creating a vertical and horizontal scroll bars when the data exceeds the view size.
3. SETTING UP THE JPANEL
We will do everything in a constructor so that the jpanel gets setup whenever we create the object of that JPanel ( Remember that: we will create the object of the JPanel in the frame class in this case i.e COMPOSITION ). Now writing the constructor
Removerpanel() {
setLayout
(new BorderLayout()); // for adding components north
add(up, "North"); //adding the up panel in north position
up.add(label); //first adding the label
up.add(jb); //then adding the button
add(sp); //adding scrollpane in the middle (i.e main Panel)
We are using border layout so that we can adjust our components to north and center positions. We created another jpanel first which we added north, then we added label and the button in that Jpanel.
After that we added the scrollPane which has the text area in center ( Remember: By default components are added in the center if we don’t specify any other position in BORDER LAYOUT).
{
text = t_area.getText(); //storing the text in a string
char arr[] = text.toCharArray(); // string to charcter array
text = ""; //empty string in text
int space = 0; // space counter
for (int i = 0; i < arr.length; i++) {
if (arr[i] == ' ' | arr[i] == '\t') //finding spaces and tabs
{
space++; // if space is found then increment counter
if (space == 1) //for first value insert 1 space
text += " ";
}
else // if no space is found
{
space = 0; //reset the counter
text += arr[i]; //add in string again
}
}
t_area.setText(text); //now set this string text to text area
}
}); //end anonymous MouseAdapterClass
}//end addMouseListener
}// end finderpanel
In the mouselistener we created an anonymous MouseAdapter class (Remember: anonymous class is the one in which you only have to create one object). Now we override the mouse clicked function. The first thing we need to do is to get the text from the text area. Then convert that text to a character array so that individual characters can be edited (Remember : space is also a character). Now we empty our string and create a space counter. We know that we only need a single space after every word so we run a for loop and check for spaces and tabs. We counted the number of times they appear after every word. Then we put a condition that only keep the first space after the word and add that space to our string text after every word. There is also a possibility that only one space is found after the text so in that case we go to else and simply add the next word to the text string. After that we simply set the text area to our string text variable.
3. SETTING UP THE JFRAME CLASS
public class SpaceRemover
extends JFrame {
Removerpanel fp = new Removerpanel();
SpaceRemover() {
setTitle("SPACE REMOVER"); //setting title
setDefaultCloseOperation(SpaceRemover.EXIT_ON_CLOSE);//for closing
setSize(500, 500); // frame size
add(fp); // adding the removerpanel in the frame
setVisible(true); // set frame visibility
}
Setting up our frame class is quite simple. We simply created a public class which is extending from JFrame then we created an object of jpanel class that we created above. Set the frame title, close operation and size and after that added the object of that jpanel class in the frame constructor.
4. DEFINING THE MAIN FUNCTION
public static void main
(String args
[]) { new SpaceRemover(); // creating the object of our JFrame class
}// end main
}// end filefinder class
In the main function we only created the object of the JFrame class and our application is complete.
5.OUTPUT:
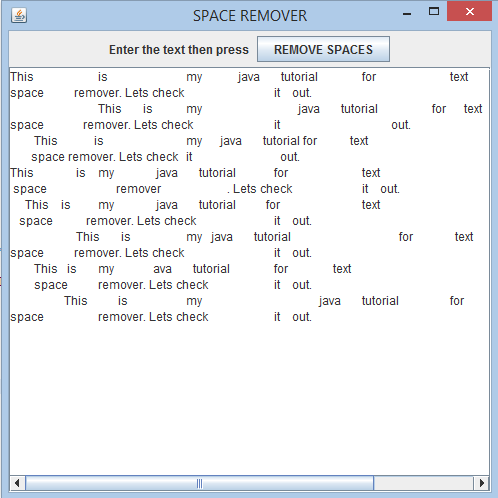
AFTER PASTING THE TEXT AND BEFORE PRESSING THE BUTTON
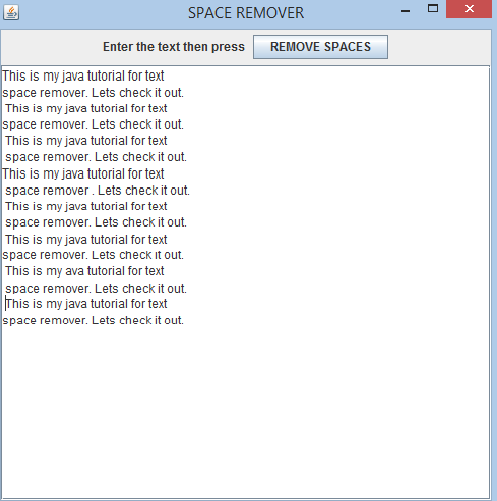
 AFTER PRESSING THE BUTTON

 In this tutorial we will be working in JAVA SWING. The first thing that we are going to do is setting up a JFrame and adding the required panels and Components.
Basic step:
Download and install ECLIPSE and set up a JAVA PROJECT. Then create a new class and name it SpaceRemover. Then follow the steps
1.IMPORT STATEMENTS
First of all write these import statements in your .java file


