How to Adjust Object Radius using Slider in JavaScript
How to Adjust Object Radius using Slider in JavaScript
Introduction
In this tutorial we will create a How to Adjust Object Radius using Slider in JavaScript. This tutorial purpose is to teach you how to adjust radius. This will thoroughly show you the simple way adjusting the radius of an object . I will provide a sample program to show the actual coding of this tutorial.
This tutorial is simple and easy to understand just follow the instruction I provided and you can do it without a problem. This program can be use to any system or application that need a feature for adjusting the object radius. I will give my best to provide you the easiest way of creating this program Adjusting Object Radius. So let's do the coding.
Before we get started:
Here is the link for the template that i used for the layout design https://getbootstrap.com/.
Creating The Interface
This is where we will create a simple interface for our application. This code will only display the html object and html slider. To create this simply copy and write it into your text editor, then save it as index.html.- <!DOCTYPE html>
- <html lang="en">
- <head>
- <meta charset="UTF-8" name="viewport" content="width=device-width, initial-scale=1"/>
- <link rel="stylesheet" type="text/css" href="css/bootstrap.css" />
- </head>
- <body>
- <nav class="navbar navbar-default">
- <div class="container-fluid">
- </div>
- </nav>
- <div class="col-md-6 well">
- <hr style="border-top:1px dotted #ccc;"/>
- <div class="col-md-6">
- </div>
- <div class="col-md-3">
- <div class="form-inline">
- <input type="text" id="slide_text" class="form-control" value="0" size="4" readonly="readonly"/>
- </div>
- <div class="form-group">
- <input type="range" oninput="adjustRadius(this);" value="0" min="0" max="150"/>
- </div>
- </div>
- </div>
- </body>
- </html>
Creating JavaScript Function
This is where the main function of the application is. This code will allow you to dynamically adjust the radius of an object. To do this just copy and write these block of codes inside the text editor and save it as script.js.- function adjustRadius(slider){
- var input=document.getElementById("slide_text");
- input.value=slider.value;
- document.getElementById("target").style.borderRadius=slider.value+"px";
- }
In the code above we just simply create one method called adjustRadius(). this function will dynamically adjust the radius of an object. The function will dynamically adjust object radius by tweaking the object css border radius property.
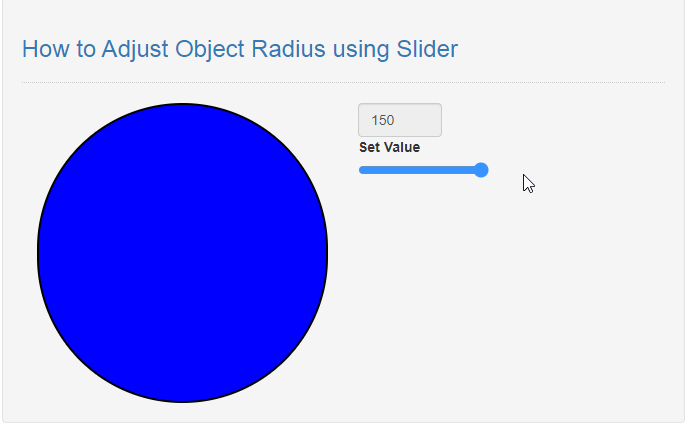
Output:

The How to Adjust Object Radius using Slider in JavaScript source code that I provide can be download below. Please kindly click the download button.
There you have it we successfully created How to Adjust Object Radius using Slider in JavaScript. I hope that this simple tutorial help you to what you are looking for. For more updates and tutorials just kindly visit this site. Enjoy Coding!
More Tutorials for JavaScript Language
Add new comment
- 182 views

