Post and Comment Function in PHP/MySQL
Submitted by alpha_luna on Thursday, June 9, 2016 - 12:55.
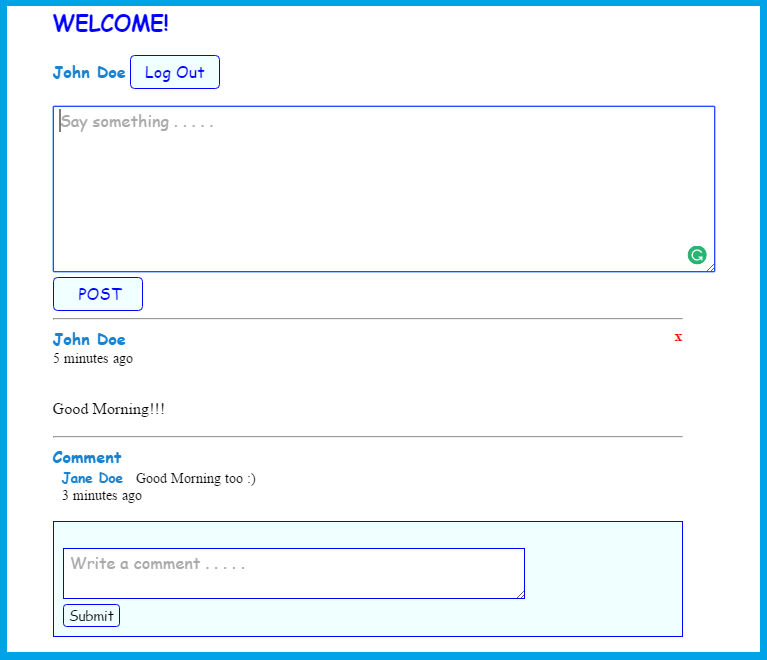
If you are looking for on how to create Post and Comment Function using PHP/MySQL then you are at the right place. This program created in PHP/MySQL to show how to use this post and comment function with timestamp or time ago. It will display the time posted by the user.
 Here's the source code of the image above:
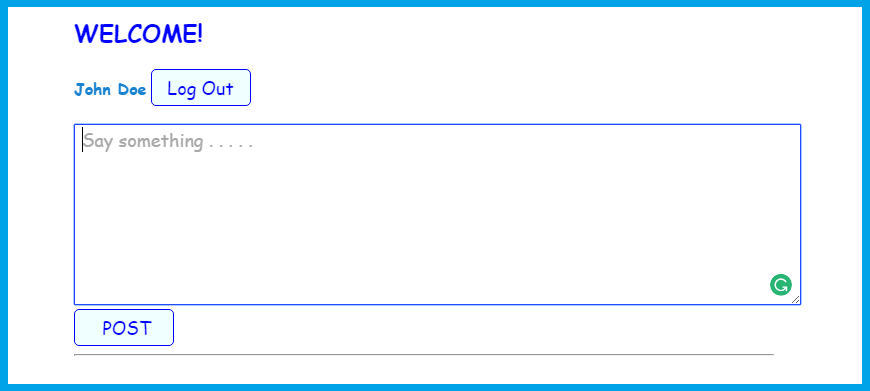
Creating post box for the user where they can post something shown in the image below.
 Here's the source code of the image above:
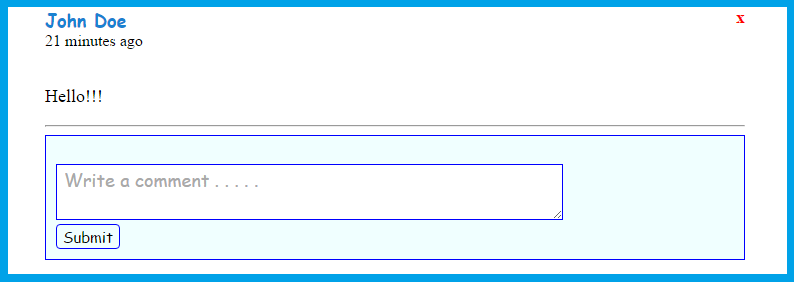
After creating the post box, we are going to create the comment box. The comment box now looks like this.
 Here's the source code of the image above:
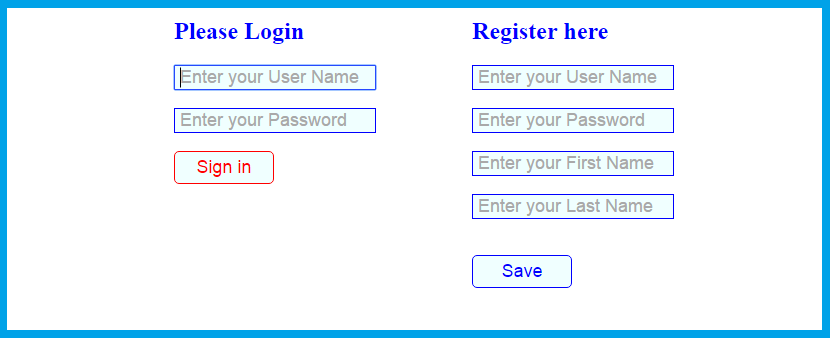
Here's the source code for the Sign Up Form and Log In Form.
The output looks like this.
 Share us your thoughts and comments below. Thank you so much for dropping by and reading this tutorial post. For more updates, don’t hesitate and feel free to visit this website more often and please share this with your friends or email me at [email protected]. Practice Coding. Thank you very much.
Account Information
- Username: admin
- Password: admin
- Username: user
- Password: user
Database Information
- Database Name: post_comment
 Here's the source code of the image above:
 Here's the source code of the image above:
 Here's the source code of the image above:
For Sign Up Form
- <?php
- include ('dbconn.php');
- $username = $_POST['username'];
- $password = $_POST['password'];
- $firstname = $_POST['firstname'];
- $lastname = $_POST['lastname'];
- mysql_query("insert into user (username, password, firstname, lastname) values ('$username', '$password', '$firstname', '$lastname')");
- ?>
- <script>
- alert('Successfully Signed Up! You can now Log in your Account');
- window.location = 'index.php';
- </script>
For Log In Form
- <?php
- include ('dbconn.php');
- $username = $_POST['username'];
- $password = $_POST['password'];
- $query = mysql_query("SELECT * FROM user WHERE username='$username' AND password='$password'") or die(mysql_error());
- if ($count > 0)
- {
- $_SESSION['id'] = $row['user_id'];
- echo 'true';
- }
- else
- {
- echo 'false';
- }
- ?>
 Share us your thoughts and comments below. Thank you so much for dropping by and reading this tutorial post. For more updates, don’t hesitate and feel free to visit this website more often and please share this with your friends or email me at [email protected]. Practice Coding. Thank you very much.
Comments
Add new comment
- Add new comment
- 782 views

