Part III: Update and Delete Specific Data in MySQL Database using Visual Basic.Net
Submitted by joken on Wednesday, September 4, 2013 - 11:30.
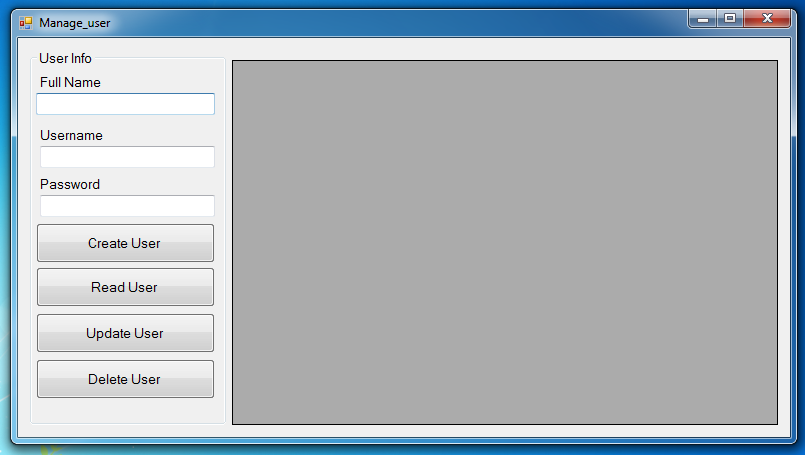
In this lesson we will focus on completing the user CRUD tutorial or the Create, Read, Update and Delete user. So to start with, Open our last tutorial called "Part II: Inserting and Reading of Data in MySQL Database Using Visual Basic.Net" and select the Manage User form and add two buttons in it. The first button we will name it as “btnupdate” and the text of this button we be “Update User”, and the other button we name it as “btnDelete” as the text will be “Delete User”.
The form now will look same as shown below.
 Next we’re going to add functionality in Update Button. But first we need to make sure that, what we’re going to update is the specific data that has been selected by the user. Meaning the process to do this action is that the first will load all the data into the datagridview that has been saved to the database by clicking the “Read User”. And when the user clicks the specific data in the datagridview, it will show in the textbox that correspond to its value. And one of the most important one, is that we need to add another label that will hold later the value of Id Number of specific data that has been selected by the user. The code will be based on the “datagridview cell Mouse Click”.
To do this just simply add another label and Name it as “lblid” and make it Invisible to the user by setting the “visible” property into “false”. So that when we run the program this will not be visible to the user. I think this time we are ready to add functionality to our “btnupdate” button. To do this just double click the “ btnupdate” button and add this code.
And after this we can now test if this code works same as we expected. By running the program and clicking the “Read User” button. And clicking the specific data in the datagridview and changing the data based on what we wanted.
For the “btnDelete” we can just simply copy the code in the “btnupdate” and only the difference is the query, so we can write it like this.
Next we’re going to add functionality in Update Button. But first we need to make sure that, what we’re going to update is the specific data that has been selected by the user. Meaning the process to do this action is that the first will load all the data into the datagridview that has been saved to the database by clicking the “Read User”. And when the user clicks the specific data in the datagridview, it will show in the textbox that correspond to its value. And one of the most important one, is that we need to add another label that will hold later the value of Id Number of specific data that has been selected by the user. The code will be based on the “datagridview cell Mouse Click”.
- Private Sub dtguser_CellMouseClick(ByVal sender As Object, ByVal e As System.Windows.Forms.DataGridViewCellMouseEventArgs) Handles dtguser.CellMouseClick
- 'this code will simply pass the value from the specific row selected by the user
- lblid.Text = dtguser.CurrentRow.Cells(0).Value
- txtfullname.Text = dtguser.CurrentRow.Cells(1).Value
- txtusername.Text = dtguser.CurrentRow.Cells(2).Value
- txtpassword.Text = dtguser.CurrentRow.Cells(3).Value
- End Sub
- 'this line of is simply we copy this one from our form
- con.ConnectionString = ("server=localhost;user id=root;password=;database=test")
- Try
- 'we open Connection
- con.Open()
- With cmd
- .Connection = con
- .CommandText = "UPDATE `test`.`users` SET `fullname` = '" & txtfullname.Text & "',`username` = '" & txtusername.Text & "',`password` = '" & txtpassword.Text & "' WHERE `users`.`user_id` =" & Val(lblid.Text) & ";"
- 'in this line it Executes a transact-SQL statements against the connection and returns the number of rows affected
- result = cmd.ExecuteNonQuery
- 'if the result is equal to zero it means that no rows is inserted or somethings wrong during the execution
- If result = 0 Then
- Else
- End If
- End With
- Catch ex As Exception
- End Try
- Call btnload_Click(sender, e)
- End Sub
Comments
it help me a lot
thank for this informative tutorial, I've learned more about sql commands. maraming salamat po kuya(thank you very much brother).. hehe
error on update and delete
im getting error on delete and update, it always loop
If result = 0 Then
MsgBox("Data has been Updated!")
Else
MsgBox("Successfully Updated!")
End If
Add new comment
- Add new comment
- 136 views