How to Save an Image in MySQL Database Using VB.Net
Submitted by janobe on Wednesday, August 22, 2018 - 18:04.

In my tutorial, this time I will teach you how to save an Image in the MySQL Database using VB.Net. This method will help you store the image itself into the MySQL Database. This is a secure way of saving your image so that it will not be deleted once a virus affects your system. This can also reduce the size of the file of your system.
Lets get started:
First, create a database and named it "test"
Second, add the table in the database that you have created.
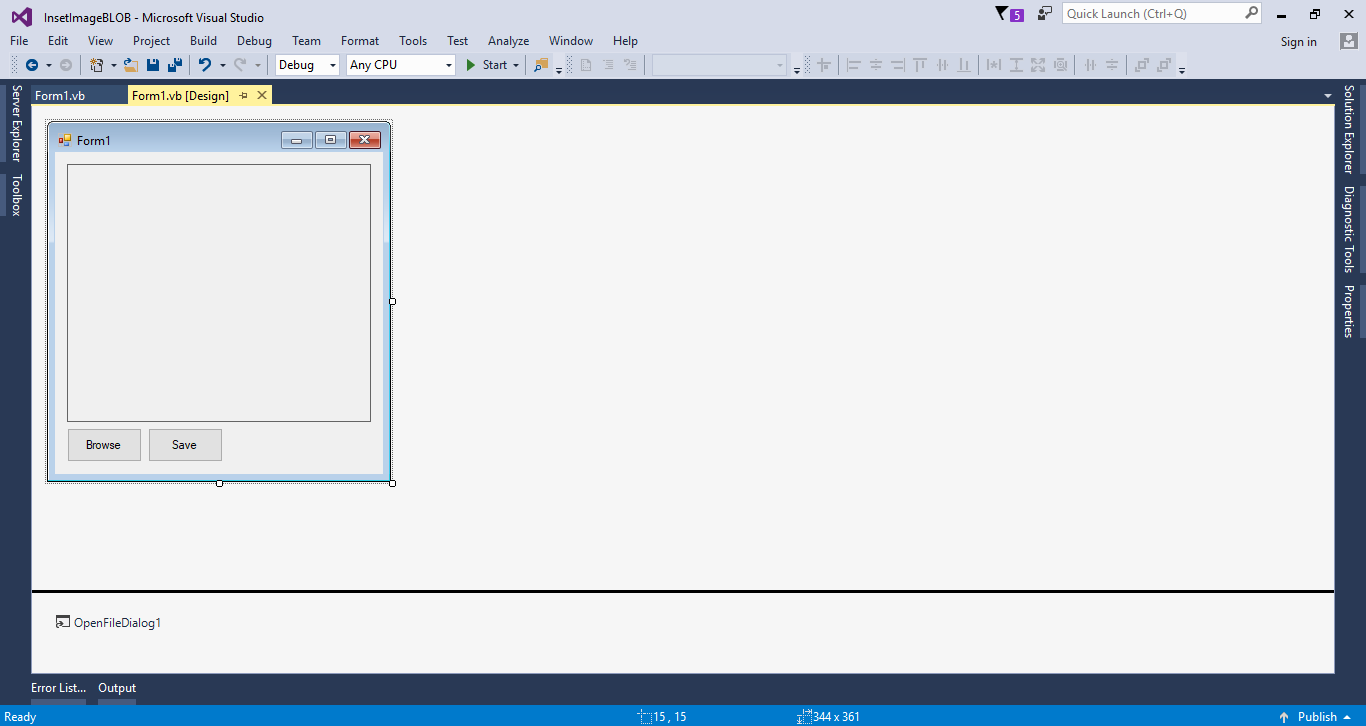
 Fourth, add two buttons, picturebox, opendialogbox and do the form just like shown below.
 Fifth, double click the "Browse" button to open the code editor and do the following code to get an image in the computer and place it in the the picture box.
Sixth, go back to the design view and double click the "Save" button to open the code editor. After that, do the following code for saving an image in the MySQL database.
Note : add
Fifth, double click the "Browse" button to open the code editor and do the following code to get an image in the computer and place it in the the picture box.
Sixth, go back to the design view and double click the "Save" button to open the code editor. After that, do the following code for saving an image in the MySQL database.
Note : add 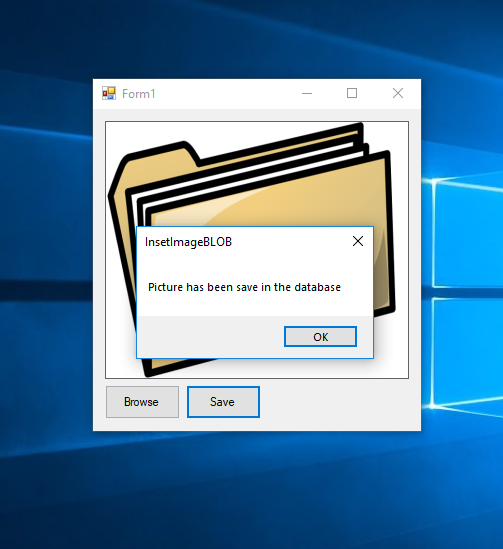
 If you find an error, please download mysql-connector latest version and install it on your machine. Add the
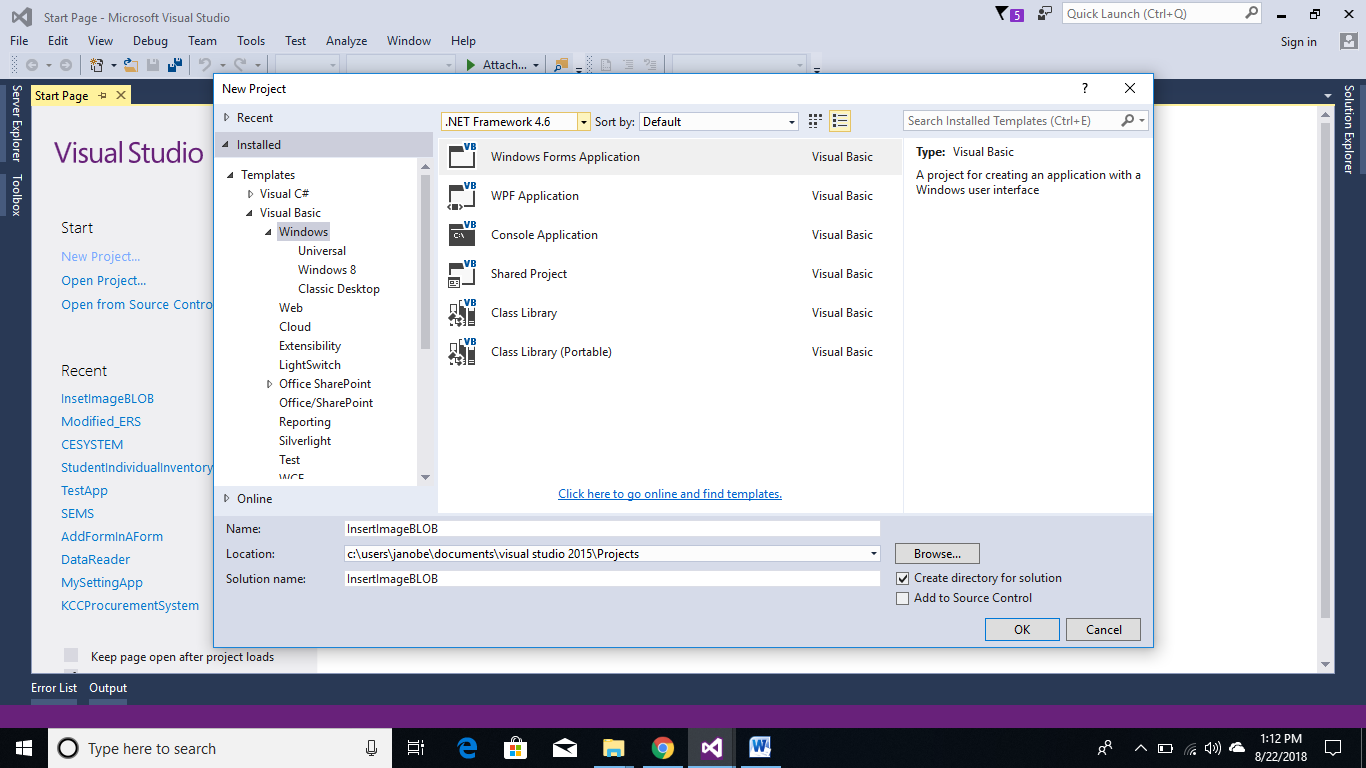
Third, open Microsoft Visual Studio 2015 and create a new project.
Fourth, add two buttons, picturebox, opendialogbox and do the form just like shown below.
Fifth, double click the "Browse" button to open the code editor and do the following code to get an image in the computer and place it in the the picture box.
- Private Sub btnBrowse_Click(sender As Object, e As EventArgs) Handles btnBrowse.Click
- Try
- With OpenFileDialog1
- 'CHECK THE SELECTED FILE IF IT EXIST OTHERWISE THE DIALOG BOX WILL DISPLAY A WARNING.
- .CheckFileExists = True
- 'CHECK THE SELECTED PATH IF IT EXIST OTHERWISE THE DIALOG BOX WILL DISPLAY A WARNING.
- .CheckPathExists = True
- 'GET AND SET THE DEFAULT EXTENSION
- .DefaultExt = "jpg"
- 'RETURN THE FILE LINKED TO THE LNK FILE
- .DereferenceLinks = True
- 'SET THE FILE NAME TO EMPTY
- .FileName = ""
- 'FILTERING THE FILES
- .Filter = "(*.jpg)|*.jpg|(*.png)|*.png|(*.jpg)|*.jpg|All files|*.*"
- 'SET THIS FOR ONE FILE SELECTION ONLY.
- .Multiselect = False
- 'SET THIS TO PUT THE CURRENT FOLDER BACK TO WHERE IT HAS STARTED.
- .RestoreDirectory = True
- 'SET THE TITLE OF THE DIALOG BOX.
- .Title = "Select a file to open"
- 'ACCEPT ONLY THE VALID WIN32 FILE NAMES.
- .ValidateNames = True
- If .ShowDialog = DialogResult.OK Then
- Try
- PictureBox1.Image = Image.FromFile(OpenFileDialog1.FileName)
- Catch fileException As Exception
- Throw fileException
- End Try
- End If
- End With
- Catch ex As Exception
- MsgBox(ex.Message, MsgBoxStyle.Exclamation, Me.Text)
- End Try
- End Sub
- Private Sub btnSave_Click(sender As Object, e As EventArgs) Handles btnSave.Click
- Dim con As MySqlConnection = New MySqlConnection("server=localhost;user id=root;password=janobe;database=test;sslMode=none")
- Dim cmd As MySqlCommand
- Dim sql As String
- Dim result As Integer
- Dim caption As String
- Dim arrImage() As Byte
- Dim mstream As New System.IO.MemoryStream()
- caption = System.IO.Path.GetFileName(OpenFileDialog1.FileName)
- 'SPECIFIES THE FILE FORMAT OF THE IMAGE
- PictureBox1.Image.Save(mstream, System.Drawing.Imaging.ImageFormat.Jpeg)
- 'RETURNS THE ARRAY OF UNSIGNED BYTES FROM WHICH THIS STREAM WAS CREATED
- arrImage = mstream.GetBuffer()
- 'GET THE SIZE OF THE STREAM IN BYTES
- Dim FileSize As UInt32
- FileSize = mstream.Length
- 'CLOSES THE CURRENT STREAM AND RELEASE ANY RESOURCES ASSOCIATED WITH THE CURRENT STREAM
- mstream.Close()
- Try
- con.Open()
- sql = "INSERT INTO `tblimageblob` (`Caption`, `ImageFile`) VALUES (@Caption, @ImageFile)"
- cmd = New MySqlCommand
- With cmd
- .Connection = con
- .CommandText = sql
- .Parameters.AddWithValue("@Caption", caption)
- .Parameters.AddWithValue("@ImageFile", arrImage)
- result = .ExecuteNonQuery()
- End With
- If result > 0 Then
- MsgBox("Picture has been save in the database")
- Else
- MsgBox("Error query", MsgBoxStyle.Exclamation)
- End If
- Catch ex As Exception
- MsgBox(ex.Message)
- Finally
- con.Close()
- End Try
- End Sub
Imports MySql.Data.MySqlClient and Imports System.IO above the public class form1 for your imports. Without this your mysql class will not work.
Output:
If you find an error, please download mysql-connector latest version and install it on your machine. Add the MySQL.Data.dll as a reference for the project that you have created.
For more question about this article. You can contact me @
Email – [email protected]
Mobile No. – 09305235027 – TNT
FB Account – https://www.facebook.com/onnaj.soicalap