Simple jQuery Time Picker
Submitted by alpha_luna on Saturday, August 13, 2016 - 16:40.
In this article, we are going to learn how to create Simple jQuery Time Picker on your web page. We are going to use simple and lightweight jQuery plugin to create this. It consists a 24-Hour or 12-Hour format from your time picker to your text field when the user clicks on. Download the full source code below then try it. Let’s start to code.
 12-Hour Format Time Picker
 Hope that this simple yet useful article that I created may help you to your future projects.
Share us your thoughts and comments below. Thank you so much for dropping by and reading this article post. For more updates, don’t hesitate and feel free to visit this website more often and please share this with your friends or email me at [email protected]. Practice Coding. Thank you very much.
Hope that this simple yet useful article that I created may help you to your future projects.
Share us your thoughts and comments below. Thank you so much for dropping by and reading this article post. For more updates, don’t hesitate and feel free to visit this website more often and please share this with your friends or email me at [email protected]. Practice Coding. Thank you very much.
How to create it
- Copy and paste this jQuery library link to your HEAD tag of your web page.
- Choose your desired text field to insert the time picker plugin and we’re done.
- <script type="text/javascript">
- $('.timepickerA').wickedpicker({now: '15:30', twentyFour: true, title:
- 'Time Picker A', showSeconds: true});
- </script>
- And, this is the default plugin settings that we have.
- <script>
- var today = new Date();
- var pluginName = "SimpleTimePicker",
- defaults = {
- now: today.getHours() + ':' + today.getMinutes(),
- twentyFour: false,
- upArrow: 'SimpleTimePicker__controls__control-up',
- downArrow: 'SimpleTimePicker__controls__control-down',
- close: 'SimpleTimePicker__close',
- hoverState: 'hover-state',
- title: 'Simple Time Picker',
- showSeconds: false,
- secondsInterval: 1,
- minutesInterval: 1,
- beforeShow: null,
- show: null,
- clearable: false
- };
- </script>
- Markup for two text field. Copy and paste to your BODY tag of your web page.
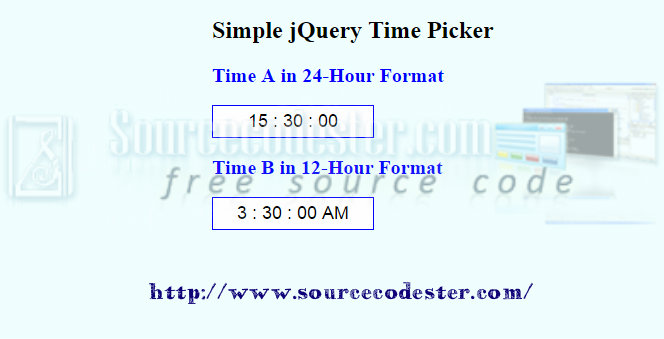
Output
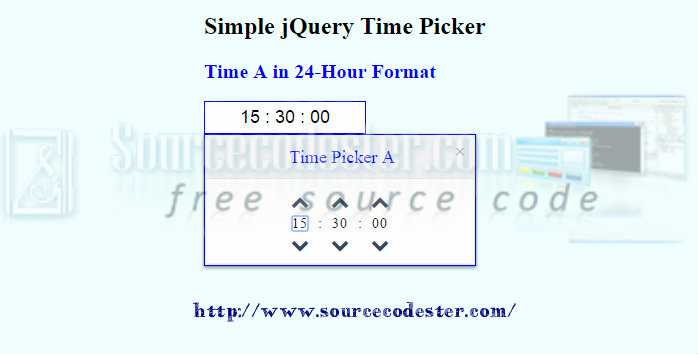
24-Hour Format Time Picker
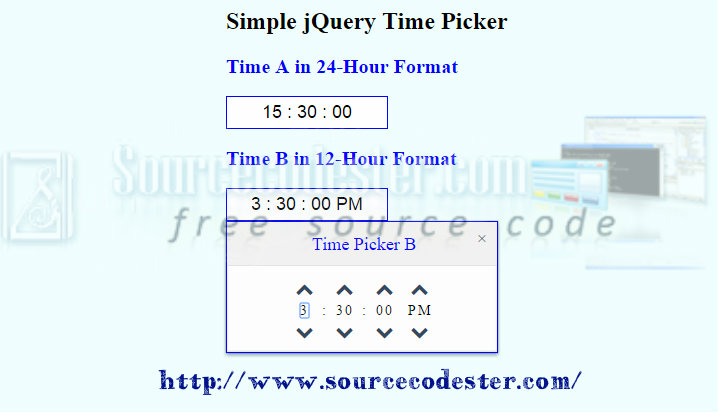
12-Hour Format Time Picker
Hope that this simple yet useful article that I created may help you to your future projects.
Share us your thoughts and comments below. Thank you so much for dropping by and reading this article post. For more updates, don’t hesitate and feel free to visit this website more often and please share this with your friends or email me at [email protected]. Practice Coding. Thank you very much.Add new comment
- 638 views