How to Limit Data to Display and Load when scrolled to bottom in PHP and jQuery Tutorial
In this tutorial, we will tackle about how limit the data to display from database and load automatically when scrolled to bottom using PHP and jQuery. This technique is very useful especially to optimize the speed of loading bulk data. This feature is commonly used in social network sites like the Facebook news feed, it shows limited posts at first and when you reached the bottom of the page, it will automatically load another data. To meet our goal for this tutorial, we will be using MySQL LIMIT and OFFSET Clause.
Getting Started
In this tutorial, I will be using Bootrstrap for the design of the web app. Also, download jQuery for our ajax functions. I'll be using XAMPP as my local web server and database server.
Before we continue, please make sure that your Apache and MySQL.
Creating the Database
Open your PHPMyAdmin in browser and create new database naming dummy_data. Import the SQL File I provided along with the source code zip file, the file is known as dummy_data.sql and located inside the db folder.
Creating Our Database Connection
Create a new PHP File and copy/paste the script below. The script contains our PHP Class for database connection. Save the file as connection.php.
- <?php
- $host = "localhost";
- $username = "root";
- $password = "";
- $db_tbl = "dummy_data";
- $conn=new mysqli($host,$username,$password,$db_tbl);
- if(!$conn){
- }
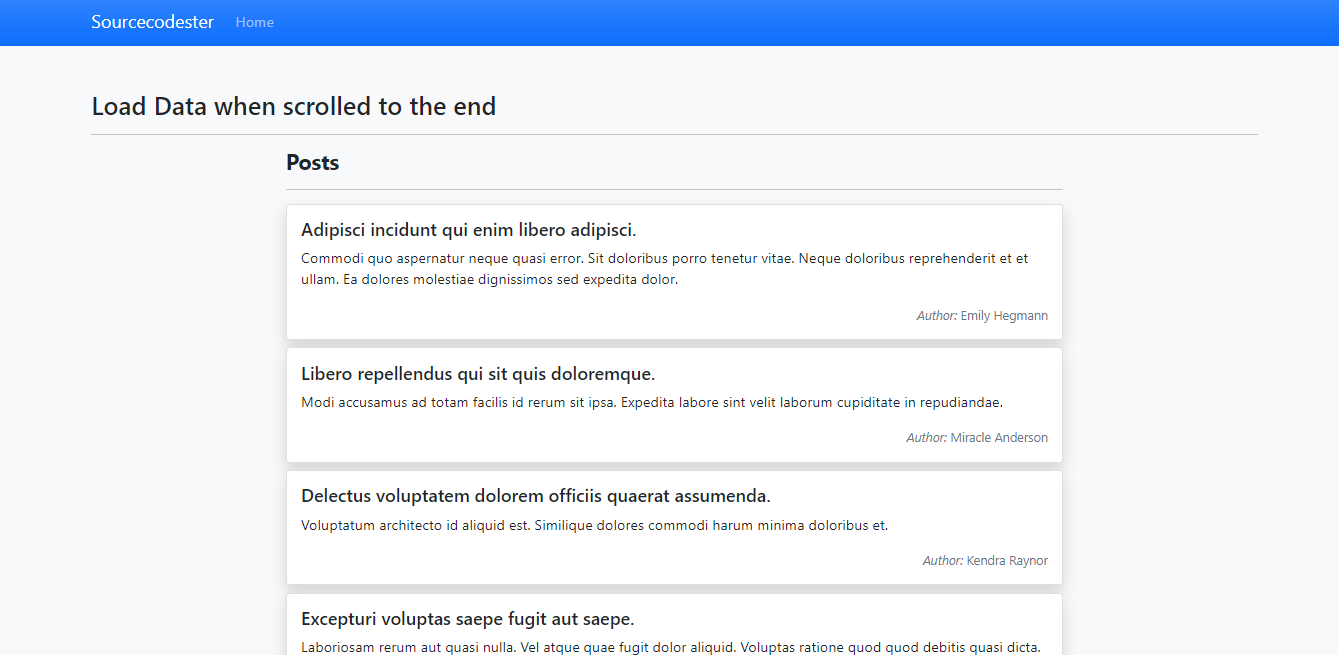
Creating the Interface
The below codes is the scripts for our page interface. Save the file as 'index.php'.
- <?php
- require_once('connection.php');
- ?>
- <!DOCTYPE html>
- <html lang="en">
- <head>
- <meta charset="UTF-8">
- <meta http-equiv="X-UA-Compatible" content="IE=edge">
- <meta name="viewport" content="width=device-width, initial-scale=1.0">
- <link rel="stylesheet" href="./css/bootstrap.min.css">
- </head>
- <body class="bg-light">
- <main>
- <nav class="navbar navbar-expand-lg navbar-dark bg-primary bg-gradient" id="topNavBar">
- <div class="container">
- <a class="navbar-brand" href="./">
- Sourcecodester
- </a>
- <button class="navbar-toggler" type="button" data-bs-toggle="collapse" data-bs-target="#navbarNav" aria-controls="navbarNav" aria-expanded="false" aria-label="Toggle navigation">
- </button>
- <div class="collapse navbar-collapse" id="navbarNav">
- <ul class="navbar-nav">
- <li class="nav-item">
- </li>
- </ul>
- </div>
- </div>
- </nav>
- <div class="container py-5 mb-4">
- <hr>
- <div class="col-md-8 offset-md-2" id="">
- <hr>
- <div id="data-holder">
- </div>
- <div class="w-100 d-flex justify-content-center" id="loader-holder">
- <div>
- </div>
- </center>
- </div>
- </div>
- </div>
- </div>
- </main>
- <div id="item_clone" class="d-none">
- <div class="card shadow post-item mb-2">
- <div class="card-body">
- <div class="w-100 d-flex justify-content-end">
- </div>
- </div>
- </div>
- </div>
- </body>
- </html>
Creating Our Custom Javascript Functions
The code below contains the scripts for our custom js/jquery function for loading the data. In my case, I saved this file inside the js directory naming script.js. This file is included in the index.php file.
- function load_data() {
- $('#loader-holder').removeClass("d-none")
- setTimeout(function() {
- $.ajax({
- url: "load_data.php",
- method: 'POST',
- data: { offset: $('#data-holder .post-item').length },
- dataType: 'json',
- error: err => {
- console.log(err)
- },
- success: function(resp) {
- if (resp.length > 0) {
- Object.keys(resp).map(k => {
- var card = $('#item_clone .post-item').clone()
- card.find('.post-title').text(resp[k].title)
- card.find('.post-description').text(resp[k].description)
- card.find('.post-author').text(resp[k].author)
- $('#data-holder').append(card)
- })
- } else {
- $('#noData').removeClass("d-none")
- }
- },
- complete: function() {
- $('#loader-holder').addClass("d-none")
- }
- })
- }, 800)
- }
- $(function() {
- load_data()
- })
- $(window).scroll(function() {
- var scrollHeight = $('body').get(0).scrollHeight;
- var _scrolled = $(window).get(0).innerHeight + $(window).get(0).scrollY + 1
- if (scrollHeight <= _scrolled) {
- if ($('#noData').is(':visible') == false && $('#loader-holder').is(':visible') == false)
- load_data()
- }
- });
Creating the PHP API
Lastly, copy/paste the source code below and save it as load_data.php.
- <?php
- require_once('connection.php');
- $qry = $conn->query("SELECT p.*,concat(a.first_name,' ',a.last_name) as author FROM posts p inner join authors a on p.author_id = a.id order by id asc limit 20 OFFSET {$_POST['offset']} ");
- while($row= $qry->fetch_assoc()){
- $data[] = $row;
- }
DEMO VIDEO
That's it! You can test your work in your browser and see if it works and meets our goal. If you encountered any errors, please review the scripts above. You can also download the working source code I created for this tutorial.
I hope this PHP and jQuery Ajax Tutorial will help you with what you are looking for and you'll find this userful for your future PHP Projects.