Text Effects in Visual Basic 2008 (Block)
Submitted by janobe on Thursday, May 1, 2014 - 21:20.

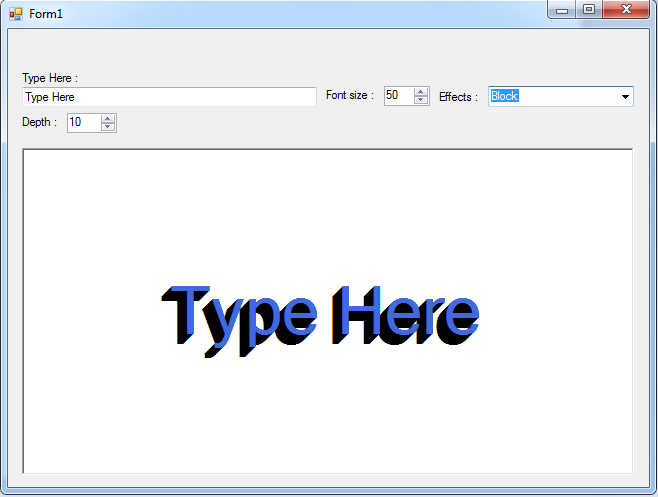
This is the continuation of my last tutorial which is Text Effects in Visual Basic 2008. Now, I will teach you how to “Block” Effect on the text. With this, it will create the text with an embossed look. You can adjust the Depth and even the font size of the text.
So let’s get started:
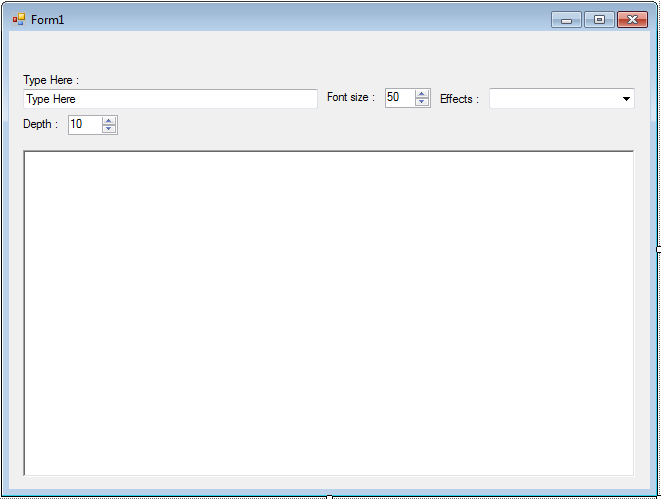
Open Visual Basic 2008 and open the file which is the Effects in Visual Basic 2008. Then, add the Label and NumericDownUp named it “nudDepth” and set the value to 10 And it will look like this.
 After that, go to the code viewer and create a sub procedure for the ” Block” effects.
Then, in the “effectlist” sub procedure add the Block item in the Combobox. It will look like this.
After that, update the code of the “draw_text” sub procedure and do this following code. The effects perform when the value of the ComboBox is changed.
Lastly, for the UIChange sub procedure add this "
Output:
After that, go to the code viewer and create a sub procedure for the ” Block” effects.
- Private Sub draw_block_text()
- Dim text_size As SizeF
- Dim grafx As Graphics
- Dim back_brush As Brush = Brushes.Black 'COLOR FOR THE BOARDER TEXT
- Dim fore_brush As Brush = Brushes.RoyalBlue 'COLOR FOR THE MAIN TEXT
- Dim fnt As New Font("Microsoft Sans Serif", NumericUpDown1.Value, FontStyle.Regular)
- Dim location_x, location_y As Single 'USED IT FOR THE LOCATION
- Dim i As Integer
- 'CREATE A GRAPHIC OBJECT IN THE PICTUREBOX.
- grafx = PictureBox1.CreateGraphics()
- 'CLEAR THE PICTUREBOX
- grafx.Clear(Color.White)
- 'LOOK THE REQUIRED SIZE TO DRAW THE TEXT
- text_size = grafx.MeasureString(Me.TextBox1.Text, fnt)
- 'ELIMINATE THE REDUNDANT CAlCULATION AFTER GETTING THE LOCATION.
- location_x = (PictureBox1.Width - text_size.Width) / 2
- location_y = (PictureBox1.Height - text_size.Height) / 2
- 'FIRST, DRAW THE BLACK BACKGROUND TO GET THE EFFECT,
- 'AND THE TEXT MUST BE DRAWN REAPETEDLY FROM THE OFFSET RIGHT, UP TO THE MAIN TEXT IS DRAWN.
- For i = CInt(nupDepth.Value) To 0 Step -1
- grafx.DrawString(TextBox1.Text, fnt, back_brush, _
- location_x - i, location_y + i)
- Next
- 'DRAW THE ROYAL BLUE FOR THE MAIN TEXT OVER THE BLACk TEXT
- grafx.DrawString(TextBox1.Text, fnt, fore_brush, location_x, location_y)
- End Sub
- Private Sub effectlist()
- With ComboBox1.Items
- .Clear()
- .Add("Reflect")
- .Add("Block")
- End With
- Private Sub draw_text()
- If ComboBox1.SelectedItem Is Nothing Then
- effectlist()
- ComboBox1.SelectedIndex = 0
- End If
- Select Case ComboBox1.SelectedItem.ToString()
- Case "Reflect"
- Draw_Reflect_Text()
- nupDepth.Enabled = False
- Case "Block"
- draw_block_text()
- nupDepth.Enabled = True
- End Select
- End Sub
ComboBox1.SelectedValueChanged , nupDepth.ValueChanged” to the events handler. It will look like this.
- Private Sub UIChanged(ByVal sender As System.Object, ByVal e As System.EventArgs) _
- Handles TextBox1.TextChanged, NumericUpDown1.ValueChanged, PictureBox1.MouseHover, _
- ComboBox1.SelectedValueChanged, nupDepth.ValueChanged
- If NumericUpDown1.Value = 0 Then
- NumericUpDown1.Value = 50
- End If
- draw_text()
- End Sub