Laravel - Adding Bootstrap to Project
Submitted by nurhodelta_17 on Thursday, November 9, 2017 - 22:46.
Getting Started
First, we're going to create a new project named mysite and we're going to add it to our localhost with the name mysite.dev. If you have no idea on how to do this, you may refer to my tutorial about Installing Laravel.Download Bootstrap
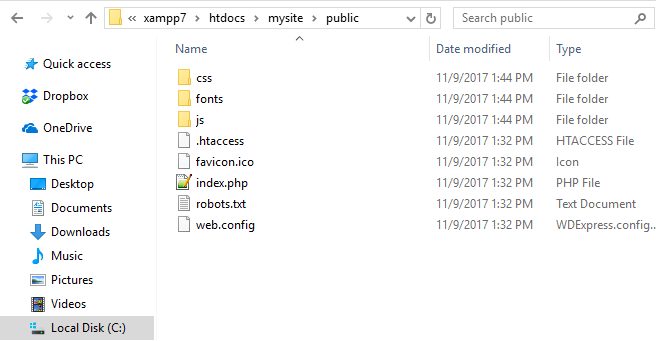
Next, we're going to download and add bootstrap to our project. 1. Download bootstrap using this link. 2. Extract the file and copy the folders - css, fonts and js. 3. Open our project, in my case in mysite, then open public folder and paste the bootstrap folders.
Creating our Views
Next, we're going to create our files. In our project, in my case mysite, open resources folder and in views folder create the ff. PHP files: app.blade.php- <!DOCTYPE html>
- <html>
- <head>
- <meta charset="utf-8">
- <link rel="stylesheet" type="text/css" href="{{ asset('/css/bootstrap.min.css') }}">
- <link rel="stylesheet" href="/css/app.css">
- </head>
- <body>
- @include('navbar')
- <div class="container">
- @if(Request::is('/'))
- @include('showcase')
- @endif
- @yield('content')
- </div>
- </body>
- </html>
- @extends('app')
- @section('content')
- <p>Lorem ipsum dolor sit amet, consectetur adipisicing elit, sed do eiusmod
- tempor incididunt ut labore et dolore magna aliqua. Ut enim ad minim veniam,
- quis nostrud exercitation ullamco laboris nisi ut aliquip ex ea commodo
- consequat. Duis aute irure dolor in reprehenderit in voluptate velit esse
- cillum dolore eu fugiat nulla pariatur. Excepteur sint occaecat cupidatat non
- proident, sunt in culpa qui officia deserunt mollit anim id est laborum.</p>
- @endsection
- <nav class="navbar navbar-inverse">
- <div class="container">
- <div class="navbar-header">
- <button type="button" class="navbar-toggle collapsed" data-toggle="collapse" data-target="#navbar" aria-expanded="false" aria-controls="navbar">
- </button>
- </div>
- <div id="navbar" class="collapse navbar-collapse">
- <ul class="nav navbar-nav">
- </ul>
- </div>
- </div>
- </nav>
Creating our Routes
Lastly, we create the routes to our pages. In our project, in my case in mysite, open routes folder and open web.php. As you can see, the default route is this:- Route::get('/', function () {
- return view('welcome');
- });
- Route::get('/', function () {
- return view('home');
- });
- Route::get('/button', function () {
- return view('button');
- });
Running our Server
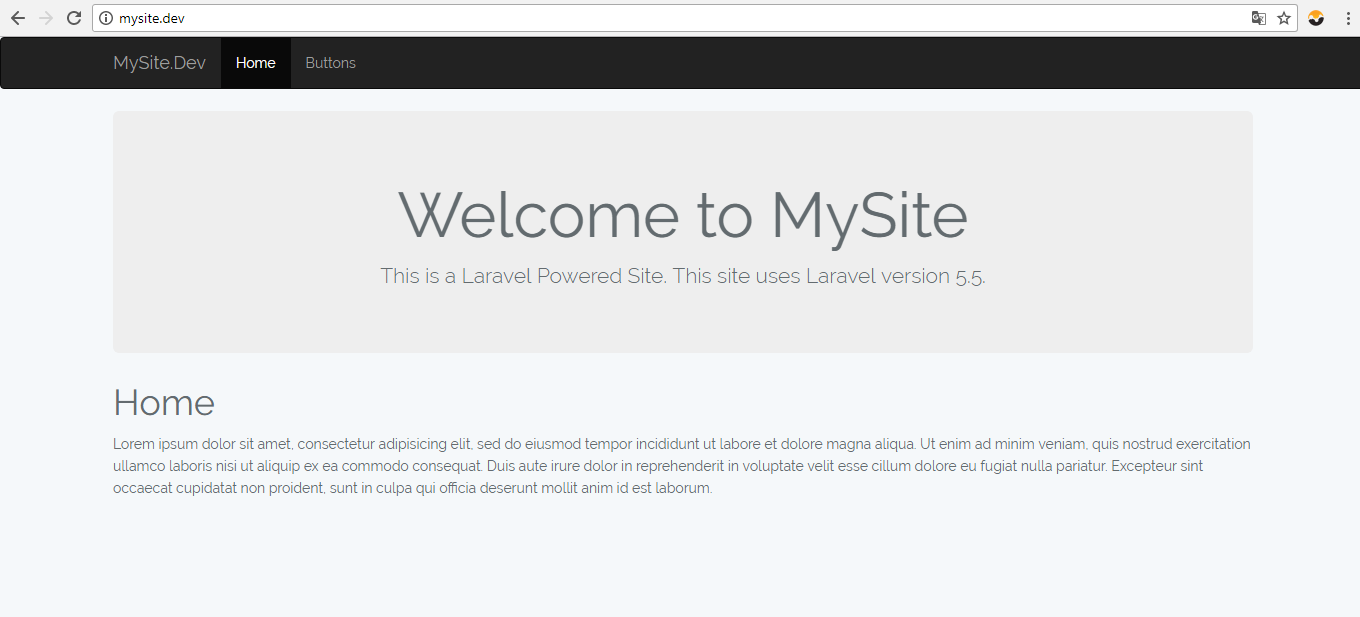
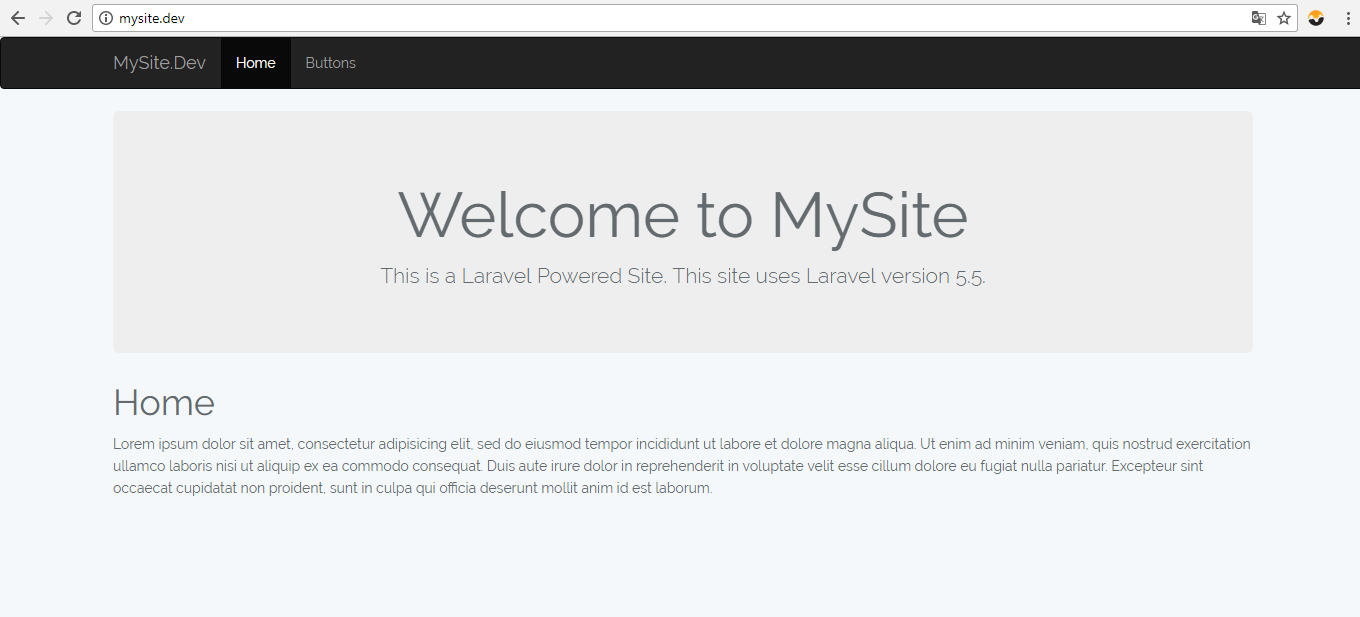
In your web browser type in the name that you added in localhost. In my case mysite.dev. It should look like this: That ends this tutorial. Happy Coding :)

