How To Upload Multiple Images In PHP
Submitted by alpha_luna on Tuesday, April 19, 2016 - 10:48.

Related Code: Single Image Upload
In the previous tutorial, we create a simple Single Image Upload with progress bar. Today, we learn on How To Upload Multiple Images In PHP. This will be easy if you read or follow our previous tutorial in Single Image Upload.
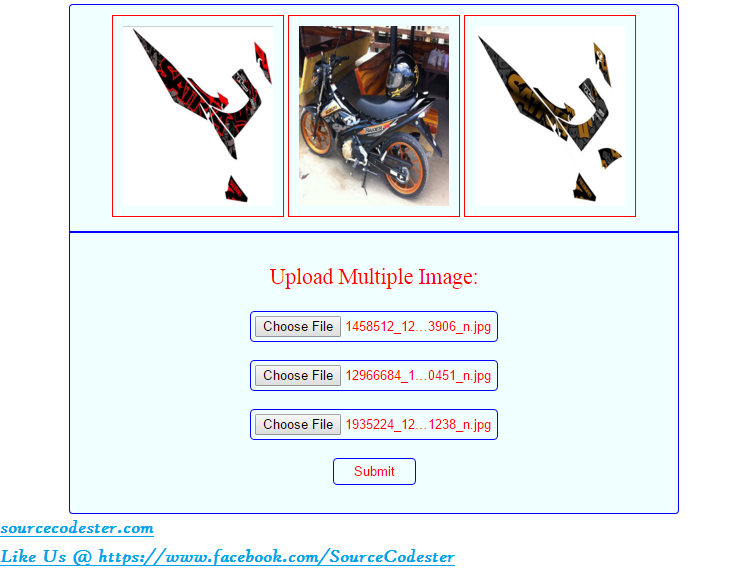
In the example, we have 3 input file field in our form tag. And, it will be uploaded using these fields by clicking the button.
Input File Field - HTML
The HTML form is,
jQuery Script For Uploading Multiple Image
This script will the same for single and multiple image uploading.
And, this is the style.
This would be the output:
 Related Code: Single Image Upload
Share us your thoughts and comments below. Thank you so much for dropping by and reading this tutorial post. For more updates, don’t hesitate and feel free to visit this website more often and please share this with your friends or email me at [email protected]. Practice Coding. Thank you very much.
Related Code: Single Image Upload
Share us your thoughts and comments below. Thank you so much for dropping by and reading this tutorial post. For more updates, don’t hesitate and feel free to visit this website more often and please share this with your friends or email me at [email protected]. Practice Coding. Thank you very much.
- <script src="js/code_js.js" type="text/javascript"></script>
- <script type="text/javascript">
- $(document).ready(function (e) {
- $("#formUploading").on('submit',(function(e) {
- e.preventDefault();
- $.ajax({
- url: "upload.php",
- type: "POST",
- data: new FormData(this),
- contentType: false,
- cache: false,
- processData:false,
- success: function(data){
- $("#container").html(data);
- },
- error: function(){}
- });
- }));
- });
- </script>
- <style type="text/css">
- .container-bg {
- width: 610px;
- background-color: #F9D735;
- border-radius:4px;
- }
- #container {
- padding: 10px;
- text-align:center;
- font-weight: bold;
- color: red;
- background-color: azure;
- overflow:auto;
- border:blue 1px solid;
- border-top-left-radius:4px;
- border-top-right-radius:4px;
- }
- #container img {
- padding: 10px;
- }
- #formUploadingLayer {
- padding: 10px;
- border-bottom-left-radius:4px;
- border-bottom-right-radius:4px;
- border:blue 1px solid;
- background:azure;
- color:red;
- font-size:18px;
- }
- .btnUpload {
- background-color: azure;
- padding:5px 20px;
- border: blue 1px solid;
- color: red;
- border-radius:4px;
- }
- .inputFile {
- padding: 4px;
- background-color: azure;
- border:blue 1px solid;
- border-radius:4px;
- }
- .txt-subtitle {
- font-size:1.2em;
- }
- </style>
Related Code: Single Image Upload
Share us your thoughts and comments below. Thank you so much for dropping by and reading this tutorial post. For more updates, don’t hesitate and feel free to visit this website more often and please share this with your friends or email me at [email protected]. Practice Coding. Thank you very much.