Simple Image Viewer Plugin with CSS, JavaScript, and Canvas
Submitted by alpha_luna on Thursday, August 18, 2016 - 16:25.
Simple Image Viewer Plugin
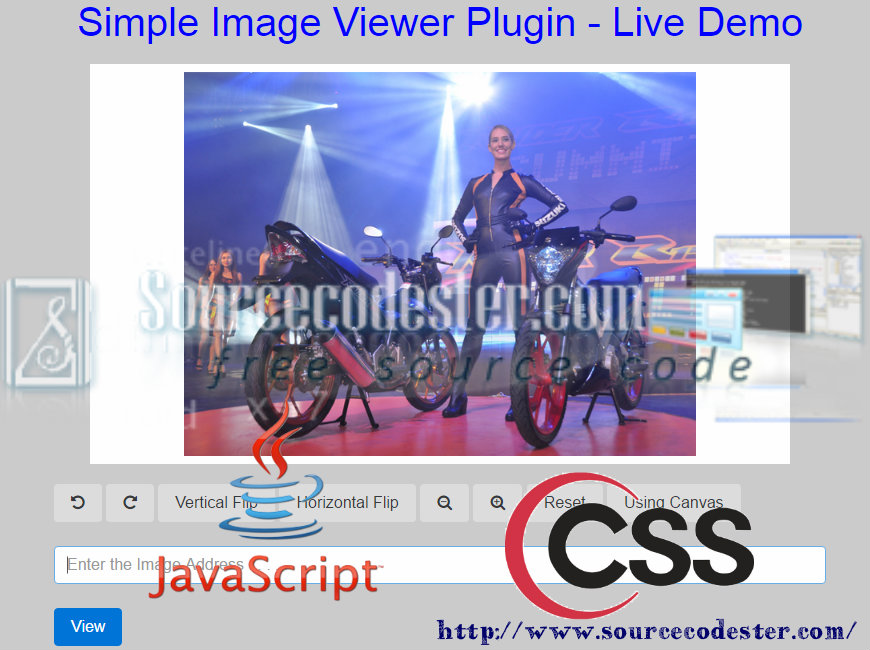
In this tutorial, we are going to create Simple Image Viewer Plugin with CSS, JavaScript, and Canvas. Using ImageTrans.js is a simple plugin that can display any picture or image viewer. It can zoom in and out, flip to vertical or horizontal, and it has rotating features. You can also check the live demo of this simple tutorial, so you can get an idea and you can try this out, let's start coding.How to create it
- Create a simple markup for the container of the image and the buttons.
- <input id="Vertical_Image" type="button" class="btn" value="Vertical Flip" />
- <input id="Horizontal_Image" type="button" class="btn" value="Horizontal Flip" />
- <input id="Reset_Image" type="button" class="btn" value="Reset" />
- <input id="Canvas_Image" type="button" class="btn" value="Using Canvas" />
- <br />
- <br />
- <input id="image_address" type="text" class="form-control" placeholder="Enter the Image Address . . . . ." autofocus="autofocus">
- <br />
- <input id="view_Image" type="button" value="View" class="btn btn-primary">
- Using this simple script, we can initialize the image viewer to the default options.
- var it = $("#Image_Container").ImageTrans( options );
- These all the script for the feature of ImageTrans.js.
- it.load(src);
- $("#Zoom_Out_Image").on( "click", function(){ it.zoomout(); })
- $("#Zoom_In_Image").on( "click", function(){ it.zoomin(); })
- $("#Vertical_Image").on( "click", function(){
- it.vertical();
- } )
- $("#Horizontal_Image").on( "click", function(){
- it.horizontal();
- } )
- $("#Left_Image").on( "click", function(){
- it.left();
- })
- $("#Right_Image").on( "click", function(){ it.right(); })
- $("#Reset_Image").on( "click", function(){ it.reset(); })
- $("#view_Image").on( "click", function(){
- src = $("#image_address").val();
- it.load(src);
Output
 For the full source code, kindly click the "Download Code" button below.
If you are interested in programming, we have an example of programs that may help you even just in small ways.
Share us your thoughts and comments below. Thank you so much for dropping by and reading this tutorial post. For more updates, don’t hesitate and feel free to visit this website more often and please share this with your friends or email me at [email protected]. Practice Coding. Thank you very much.
