Add Delete Image using jQuery
Submitted by alpha_luna on Monday, August 15, 2016 - 14:48.

Add Delete Image using jQuery with PHP script via Ajax
In this tutorial, we are going to create Add, Delete Image using jQuery with PHP script via Ajax. In the previous tutorial, we already created Ajax Select and Upload Multiple Images and File Image Upload With Gallery Using PHP but they don’t have delete option function in the last tutorial. We are going to add an image using PHP file upload script into the target folder or location. If we want to delete, we are going to use also the PHP script to remove the image file from the location or folder. Let’s start coding.PHP Add Script
This PHP adds file script is to add a certain file image upload to the location or folder. If the image successful to upload, it will display the image to the web browser.- <script type="text/javascript">
- $(document).ready(function (e) {
- $("#form_To_Upload").on('submit',(function(e) {
- e.preventDefault();
- $.ajax({
- url: "upload.php",
- type: "POST",
- data: new FormData(this),
- contentType: false,
- cache: false,
- processData:false,
- success: function(data)
- {
- $("#target_Container").html(data);
- },
- error: function(){}
- });
- }));
- });
- </script>
Delete Statement using jQuery Ajax
It contains Ajax script and deletes statement in PHP file to delete the image displaying in the web browser. Once the image deleted, the container of the image replaced by the text of “No Image”.- <script type="text/javascript">
- function deleteImage(path) {
- $.ajax({
- url: "delete.php",
- type: "POST",
- data: {'path':path},
- success: function(data){
- $("#target_Container").html('<div class="no-image">No Image</div>');
- },
- error: function(){}
- });
- }
- </script>
Result
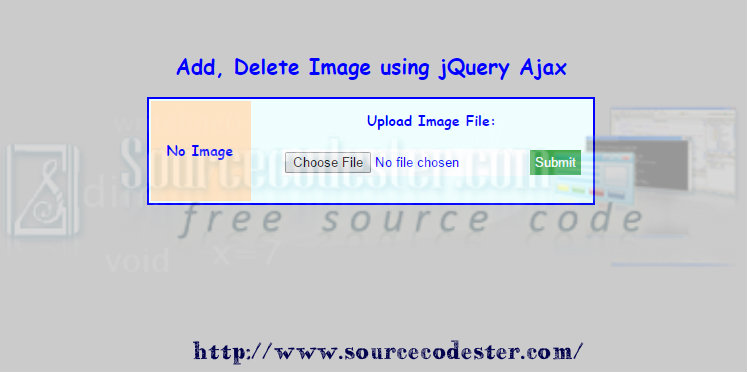
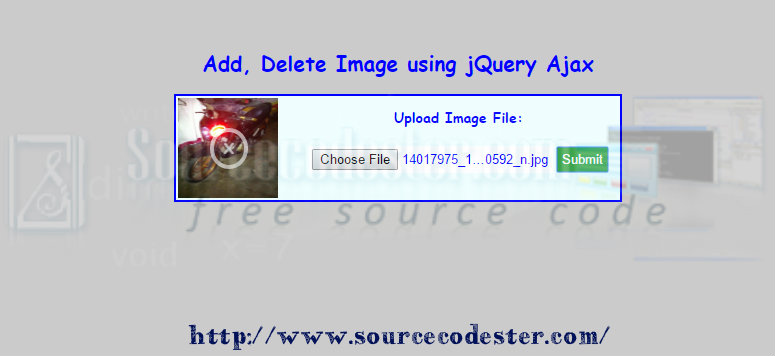 Note: You can customize your file upload whatever your desired design by changing the CSS.
Hope that this simple yet useful tutorials that I created may help you to your future projects.
Share us your thoughts and comments below. Thank you so much for dropping by and reading this tutorial post. For more updates, don’t hesitate and feel free to visit this website more often and please share this with your friends or email me at [email protected]. Practice Coding. Thank you very much.
Note: You can customize your file upload whatever your desired design by changing the CSS.
Hope that this simple yet useful tutorials that I created may help you to your future projects.
Share us your thoughts and comments below. Thank you so much for dropping by and reading this tutorial post. For more updates, don’t hesitate and feel free to visit this website more often and please share this with your friends or email me at [email protected]. Practice Coding. Thank you very much.