Image Upload Preview using JavaScript
Submitted by alpha_luna on Monday, August 15, 2016 - 16:33.
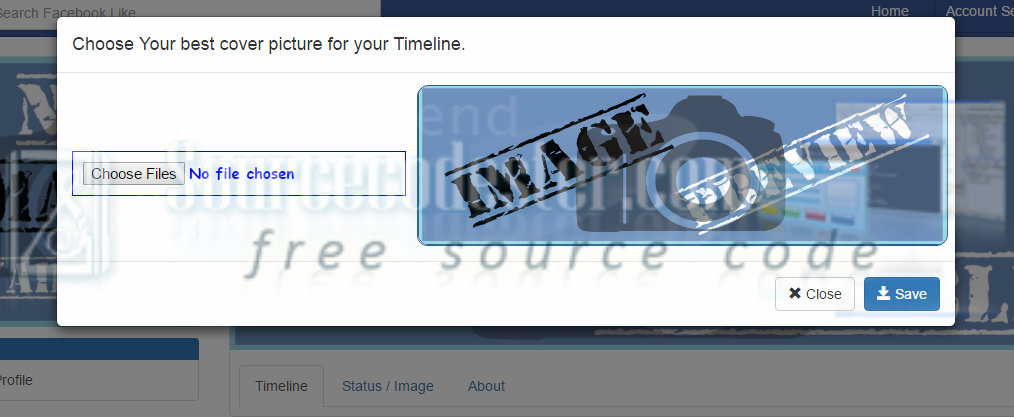
In this tutorial, we are going to learn about how to Preview Image in File Upload using JavaScript. In this simple tutorial, we are sending the image using form field to the script where we can preview the current image in the form field.
 This is the HTML source code of the image above.
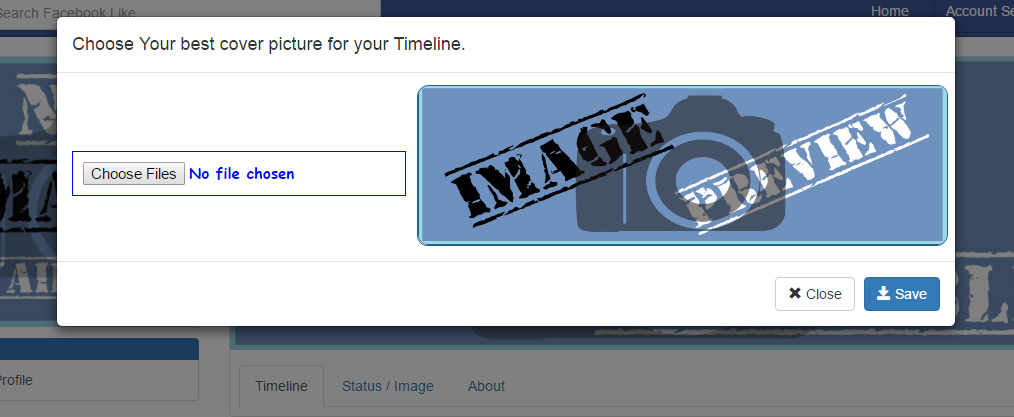
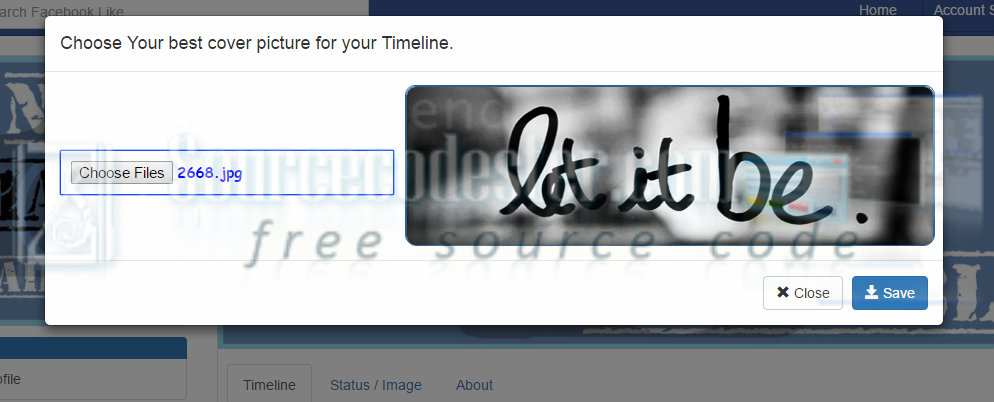
Originally the form and the default image will be, After uploading the image using the script that we construct, we are going to load or preview the target image to the right side of our form field. So, this would be the output.
 Kindly click the "Download Code" button below for full source code. Thank you very much.
Hope that this tutorial will help you a lot.
If you are interested in programming, we have an example of programs that may help you even just in small ways.
Share us your thoughts and comments below. Thank you so much for dropping by and reading this tutorial post. For more updates, don’t hesitate and feel free to visit this website more often and please share this with your friends or email me at [email protected]. Practice Coding. Thank you very much.
Creating Markup
HTML source code for the form field contains the file input and the default image as shown in the image below. This is the HTML source code of the image above.
- <div class="modal-body">
- <form method="post" action="edit_profile_cover_image.php" enctype="multipart/form-data">
- <input id="coverFileUpload" multiple="multiple" name="image" type="file" class="file_style" required/>
- <div id="image-holder-cover" style="width: 530px; border-radius: 10px; border: 1px solid #286090; text-align:center; height: 160px; margin-left: 345px; margin-top: -2px;">
- <img src="images/cover-preview.jpg" style="width: 530px; border-radius: 10px; border: 1px solid #286090; text-align:center; height: 160px; margin-top: -2px;">
- </div>
- </div>
- <div class="modal-footer">
- </form>
- </div>
Construct Script Source Code
This simple script that we are going to use to preview the image before upload it.- <script>
- $(document).ready(function() {
- $("#coverFileUpload").on('change', function() {
- //Get count of selected files
- var countFiles = $(this)[0].files.length;
- var imgPath = $(this)[0].value;
- var extn = imgPath.substring(imgPath.lastIndexOf('.') + 1).toLowerCase();
- var image_holder = $("#image-holder-cover");
- image_holder.empty();
- if (extn == "gif" || extn == "png" || extn == "jpg" || extn == "jpeg") {
- if (typeof(FileReader) != "undefined") {
- //loop for each file selected for uploaded.
- for (var i = 0; i < countFiles; i++)
- {
- var reader = new FileReader();
- reader.onload = function(e) {
- $("<img />", {
- "src": e.target.result,
- "class": "thumb-image"
- }).appendTo(image_holder);
- }
- image_holder.show();
- reader.readAsDataURL($(this)[0].files[i]);
- }
- } else {
- alert("This browser does not support FileReader.");
- }
- } else {
- alert("Pls select only images");
- }
- });
- });
- </script>
The CSS Source Code
Using this CSS source code to control the width and height of the image or you can add any design to preview the image elegant.- .thumb-image {
- width: 160px;
- border-radius: 10px;
- border: 1px solid #286090;
- height: 160px;
- /* margin-left: 345px;
- margin-top: -25px; */
- }
- .file_style {
- float: left;
- margin-top: 65px;
- border: 1px solid blue;
- padding: 10px;
- color: blue;
- font-size: 15px;
- font-family: cursive;
- font-weight: bold;
- }
- .preview_style_text {
- color:blue;
- font-size:18px;
- font-family:cursive;
- font-weight:bold;
- }
- /*sliding text in image*/
- #div1 {
- display: block;
- position: relative;
- float: left;
- overflow: hidden;
- margin-bottom:15px;
- }
- figcaption {
- position: absolute;
- background: black;
- background: rgba(0,0,0,0.75);
- color: white;
- padding: 10px 20px;
- opacity: 0;
- -webkit-transition: all 0.6s ease;
- -moz-transition: all 0.6s ease;
- -o-transition: all 0.6s ease;
- }
- #div1:hover figcaption {
- opacity: 1;
- }
- #div1:before {
- position: absolute;
- font-weight: 800;
- background: black;
- background: rgba(255,255,255,0.75);
- text-shadow: 0 0 5px white;
- color: black;
- width: 24px;
- height: 24px;
- -webkit-border-radius: 12px;
- -moz-border-radius: 12px;
- border-radius: 12px;
- text-align: center;
- font-size: 14px;
- line-height: 24px;
- -moz-transition: all 0.6s ease;
- opacity: 0.75;
- }
- #div1:hover:before {
- opacity: 0;
- }
- .cap-left:before { bottom: 10px; left: 10px; }
- .cap-left figcaption { bottom: 0; left: -30%; }
- .cap-left:hover figcaption { left: 0; }
- .cap-right:before { bottom: 10px; right: 10px; }
- .cap-right figcaption { bottom: 0; right: -30%; }
- .cap-right:hover figcaption { right: 0; }
- .cap-top:before { top: 10px; left: 10px; }
- .cap-top figcaption { left: 0; top: -30%; }
- .cap-top:hover figcaption { top: 0; }
- .cap-bot:before { bottom: 10px; left: 10px; }
- .cap-bot figcaption { left: 0; bottom: -30%;}
- .cap-bot:hover figcaption { bottom: 0; }
Output
Originally the form and the default image will be,
 After uploading the image using the script that we construct, we are going to load or preview the target image to the right side of our form field. So, this would be the output.
 Kindly click the "Download Code" button below for full source code. Thank you very much.
Hope that this tutorial will help you a lot.
If you are interested in programming, we have an example of programs that may help you even just in small ways.
Share us your thoughts and comments below. Thank you so much for dropping by and reading this tutorial post. For more updates, don’t hesitate and feel free to visit this website more often and please share this with your friends or email me at [email protected]. Practice Coding. Thank you very much.
