Introduction to javax.swing Library
Submitted by pavel7_7_7 on Tuesday, February 4, 2014 - 10:24.

In this tutorial you will find a step by step guide about creating your first Java Application with Graphical User Interface using Eclipse IDE.
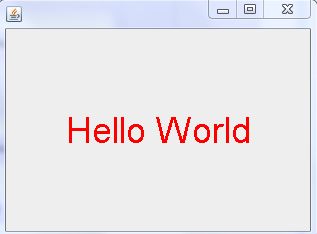
Swing library is one of the most used libraries to create applications with Graphical User Interface (GUI). This library has a large set of different GUI components. We will start from the simplest application - "Hello World!" application.
- Open the Eclipse IDE. Choose "File" -> "New" -> "Project" from menu.

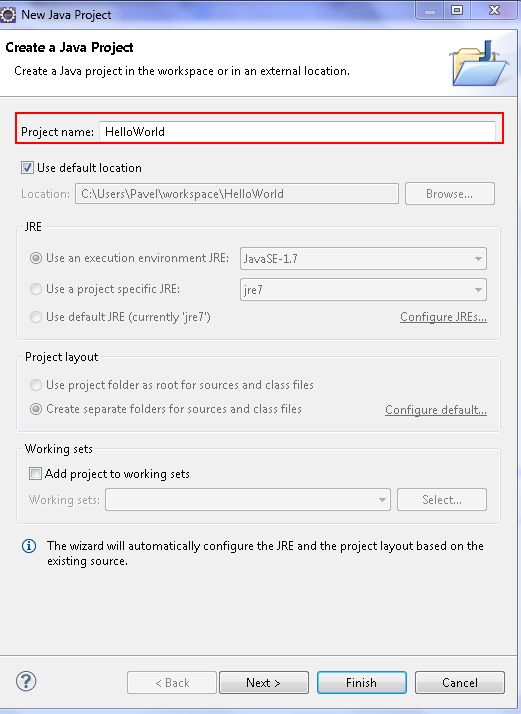
- Next step is to enter the project's name. We will name our project "HelloWorld". After entering project's name, press "Finish" to create project
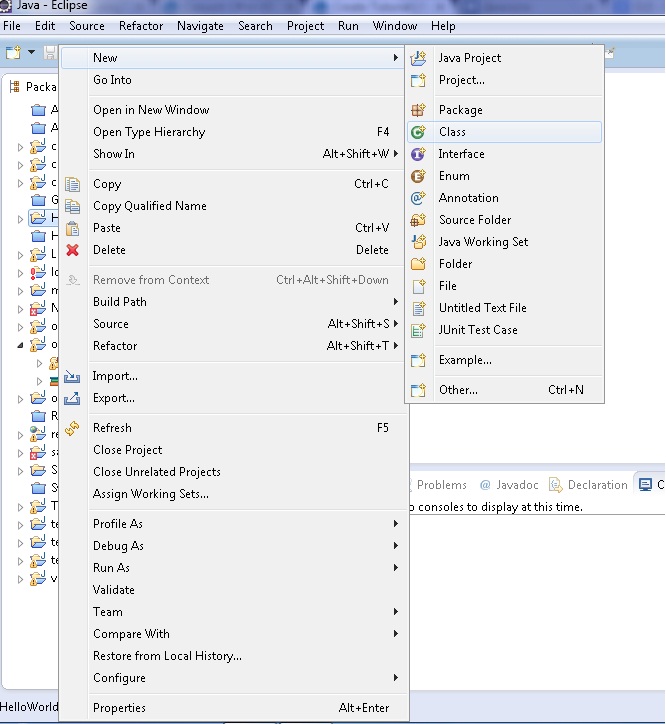
- Now we will add a class to our project. This class will have the main method. Right click on the project's name in Package explorer and choose "New" -> "class".
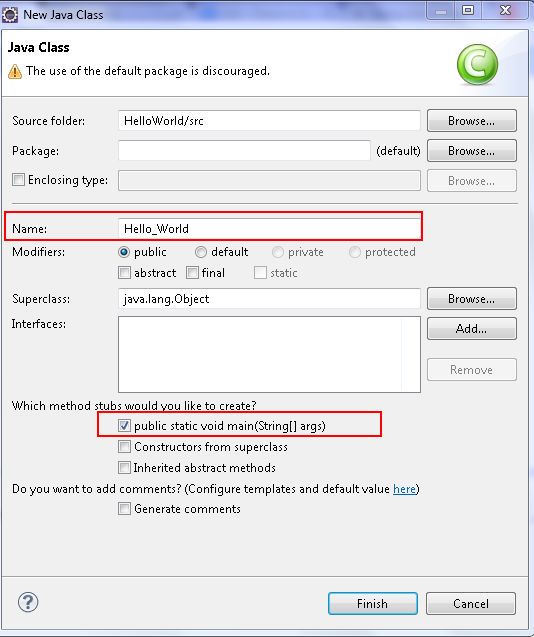
- Now, enter the name of class and choose option, which will create the main method automatically.
- After creating the Hello_World class, Eclipse will generate the following code
First of all, we have to know the fact that if we want to create a frame application, our class must be inherited from JFrame class. That's why we have to add next import
- public class Hello_World {
- // TODO Auto-generated method stub
- }
- }
import javax.swing.JFrame;and then class can extend JFrame classimport javax.swing.JFrame;Now it looks like this code: -
The next step is to add GUI components to our frame.
We want to have "Hello World!" message in the frame. Often, class, called JLabel it's used to show different text in frame. So, we have to add another import to the code:
import javax.swing.JLabel;
Traditionally, all GUI elements are initialized in the constructor. We will act in the same way.
To create an instance of JLabel, write the following code: The constructor of JLabel class takes a string as an argument. This string will be displayed on the label. To find more information about JLabel class, read this -
Next step is to modify some properties of the text, displayed in the label. To change the color of the text call
setForegroundmethod of the JLabel objecthelloLabel.setForeground(Color.RED);The parameter of this method is the color of the text. To use color constants, please, addimport java.awt.Color;import.
By default, text in the label is aligned to the left part. We will change the alignment to the center usingsetHorizontalAlignmentmethod:
helloLabel.setHorizontalAlignment(SwingConstants.CENTER);
SwingConstants class it's a set collection of different constants used in Java.CENTERconstant is used to align text to the center of component.
Now we will change the font of the text, displayed on label. We wil callsetFontmethod to change the font. It will look like thishelloLabel.setFont(new Font("Arial", Font.PLAIN, 36));where "Arial" is font's name, "Font.PLAIN" is font's style(It can be also Font.Bold and Font.Italic) and 36 - size of font. We have finished the process of initialization. Now, the constructor looks like this:The last step is to add helloLabel to the frame. For this we will calladdmethod. in the line 7. - Now, let's create an instance of our class in the main method:
Next, we have to set size of the frame. For this we call
- Hello_World HW = new Hello_World();
SetSizemethod:HW.setSize(320, 240);After this, we make the frame visible:HW.setVisible(true);The full project's code is:And that's all for our application. Let's run it!- import java.awt.Color;
- import java.awt.Font;
- import javax.swing.JFrame;
- import javax.swing.JLabel;
- import javax.swing.SwingConstants;
- Hello_World(){
- JLabel helloLabel;
- add(helloLabel);
- }
- // TODO Auto-generated method stub
- Hello_World HW = new Hello_World();
- HW.setSize(320, 240);
- HW.setVisible(true);
- }
- }