Navigating Page w/o Leaving the Page using JS Fetch and History PushState Tutorial

In this tutorial, you will learn how to implement Page Navigation without actually leaving the page in a web application using JavaScript. This tutorial aims to provide IT/CS students and new programmers with a reference that might help them to achieve their desired web application projects. Here, step-by-step tutorials with snippets are provided. A sample application source code that demonstrates the objective of this tutorial is also provided and is free to download.
How does the Page Navigation w/o leaving the Page work?
Page Navigation w/o leaving the Page is a feature of an application that allows the user the navigate to a different page without actually leaving the actual page and reloading the assets. Basically, this kind of feature updates a certain part of the page interface template.
What are the benefits of implementing this Feature?
This feature is not required for implementing a web application but some developers implement this kind of feature to allow their end-users to navigate pages on the application faster. This feature minimizes the page assets reloading on the client side.
For example, your site or web application loads multiple assets (external CSS, JS, etc.) and some of these asset sizes are large. Loading your page content or navigating to other pages might take some time due to multiple and large sizes of assets that are needed to be loaded on the client browser. But if you implement this feature, assets will only load when the site was opened freshly or the users forcibly reload the page. Check out the sample snippet below to understand more.
Page Navigation w/o leaving the Page
Using the JavaScript built-in method and API called Fetch API and history.pushState method, this feature can be achieved easily. The fetch() API will get the page content that you need to display to your user while the history.pushState() method will update the page history state so that when the user reloads the page, the page will be loaded with the last content loaded.
Here are the steps for implementing this feature in a simple web application
Step 1: Create a Page Interface Template
The first thing you need to do is to create the page interface template. In the template, load all the assets you needed to load the other scripts you want to load on every page.
index.php
- <!DOCTYPE html>
- <html lang="en">
- <head>
- <meta charset="UTF-8">
- <meta http-equiv="X-UA-Compatible" content="IE=edge">
- <meta name="viewport" content="width=device-width, initial-scale=1.0">
- <link rel="stylesheet" href="https://cdnjs.cloudflare.com/ajax/libs/font-awesome/6.2.0/css/all.min.css" integrity="sha512-xh6O/CkQoPOWDdYTDqeRdPCVd1SpvCA9XXcUnZS2FmJNp1coAFzvtCN9BmamE+4aHK8yyUHUSCcJHgXloTyT2A==" crossorigin="anonymous" referrerpolicy="no-referrer" />
- <link rel="stylesheet" href="https://cdn.jsdelivr.net/npm/[email protected]/dist/css/bootstrap.min.css" integrity="sha384-Zenh87qX5JnK2Jl0vWa8Ck2rdkQ2Bzep5IDxbcnCeuOxjzrPF/et3URy9Bv1WTRi" crossorigin="anonymous">
- <link rel="stylesheet" href="assets/css/styles.css">
- <script src="https://cdn.jsdelivr.net/npm/[email protected]/dist/js/bootstrap.bundle.min.js" integrity="sha384-OERcA2EqjJCMA+/3y+gxIOqMEjwtxJY7qPCqsdltbNJuaOe923+mo//f6V8Qbsw3" crossorigin="anonymous"></script>
- <style>
- </style>
- </head>
- <body>
- <main>
- <nav class="navbar navbar-expand-lg navbar-dark bg-gradient">
- <div class="container">
- <button class="navbar-toggler" type="button" data-bs-toggle="collapse" data-bs-target="#navbarNav" aria-controls="navbarNav" aria-expanded="false" aria-label="Toggle navigation">
- </button>
- <div class="collapse navbar-collapse" id="navbarNav">
- <ul class="navbar-nav">
- <li class="nav-item">
- </li>
- <li class="nav-item">
- </li>
- <li class="nav-item">
- </li>
- </ul>
- </div>
- <div>
- </div>
- </div>
- </nav>
- <div id="main-wrapper">
- <script>
- start_loader()
- </script>
- <div class="container px-5 my-3" id="contentContainer">
- <?php
- $page = $_GET['page'] ?? "home";
- if(is_file("./pages/{$page}.php")){
- include("./pages/{$page}.php");
- }else{
- echo "<h1 class='text-center fw-bolder'>404 | Object not Found</h1>";
- }
- ?>
- </div>
- </div>
- <footer class="bg-gradient bg-light shadow-top py-4 col-auto">
- <div class="">
- <div class="text-center">
- </div>
- <div class="text-center">
- </div>
- </div>
- </footer>
- </main>
- </body>
- </html>
As you can see in the provided script, page contents are stored in the pages directory and loaded into the specific part of the template.
Step 2: Create your Page Content
Next, create your page's contents.
pages/home.php
- <div class="col-lg-10 col-md-12 col-sm-12 col-xs-12 mx-auto">
- <hr>
- <div class="card rounded-0">
- <div class="card-body rounded-0">
- <div class="container-fluid">
- <p>Lorem ipsum dolor sit amet, consectetur adipiscing elit. Nunc diam mi, auctor non risus vel, blandit consectetur sem. Nulla varius vel elit in consectetur. Integer convallis sed mauris quis vestibulum. Quisque vel augue id arcu faucibus blandit. Nam egestas tempus ex at varius. Morbi accumsan hendrerit pellentesque. Nullam suscipit sem neque, eu hendrerit justo feugiat ut. Duis sollicitudin ut ex non luctus. Aliquam condimentum nisl in augue tincidunt accumsan. Donec mollis lacinia massa et tempor. Suspendisse eget urna sit amet justo eleifend rutrum sit amet sit amet justo. Nulla facilisi. Phasellus tempus ex neque, ac condimentum urna ornare feugiat.</p>
- <p>Phasellus lobortis imperdiet semper. Etiam posuere erat vel lobortis gravida. Nunc nec justo sollicitudin, egestas ex ut, iaculis justo. Nunc imperdiet risus in augue imperdiet interdum. Nunc id mollis sem. In hac habitasse platea dictumst. In congue erat id tellus tincidunt, at finibus arcu tristique. Sed sollicitudin dolor a magna finibus, tempor iaculis sem tempor. Cras mattis sapien a dolor porttitor egestas. Suspendisse mollis libero et interdum sollicitudin. Sed imperdiet iaculis vehicula. Praesent arcu nisl, blandit vitae purus id, pharetra bibendum diam. Duis fermentum faucibus turpis, ullamcorper rhoncus tortor sollicitudin in.</p>
- </div>
- </div>
- </div>
- </div>
Step 3: Create the JavaScript
Lastly, create the JavaScript code that updates your page content.
navigate-content.php
- /**
- * Pages Links
- */
- const navigationLinks = document.querySelectorAll('#navbarNav .nav-link')
- // Content Container
- const contentContainer = document.getElementById('contentContainer')
- const objectNotFound = document.createElement('h1')
- objectNotFound.classList.add('text-center')
- objectNotFound.classList.add('fw-bolder')
- objectNotFound.innerText = `404 | Object Not Found`
- navigationLinks.forEach(link => {
- // return false;
- link.addEventListener("click", function(e){
- e.preventDefault()
- var redirect = this.getAttribute('href')
- // page to navigate
- var redirect_url = location.origin + location.pathname + redirect;
- redirect_url = new URL(redirect_url);
- // getting the page parameter
- var _params = redirect_url.searchParams
- var page = "";
- if(_params.has('page'))
- page = _params.get('page')
- //return 404 if page is empty or null
- if(page == ""){
- contentContainer.innerHTML = objectNotFound.outerHTML
- return false;
- }
- //fetch the page content
- start_loader()
- fetch(`./pages/${page}.php`)
- .then(response =>{
- if(!response.ok){
- //return 404 if page not found
- contentContainer.innerHTML = objectNotFound.outerHTML
- throw new Error("An error occured while fetching the page content")
- }
- return response.text();
- })
- .then( respBody => {
- // delay the redering of content for testing pusposes only
- setTimeout(()=>{
- // replace the page content
- contentContainer.innerHTML = respBody
- end_loader()
- },1000)
- })
- .catch(error=>{
- // delay the redering of content for testing pusposes only
- setTimeout(()=>{
- contentContainer.innerHTML = objectNotFound.outerHTML
- console.error(error)
- end_loader()
- },1000)
- })
- // Update history state [link on the address bar]
- // - enables to load the page with the last loaded content
- history.pushState({}, "", redirect_url.href)
- })
- });
I have provided also the source code zip file of the simple application that I created that demonstrates the objective of this tutorial. You can download it by clicking the download button located below this tutorial's content.
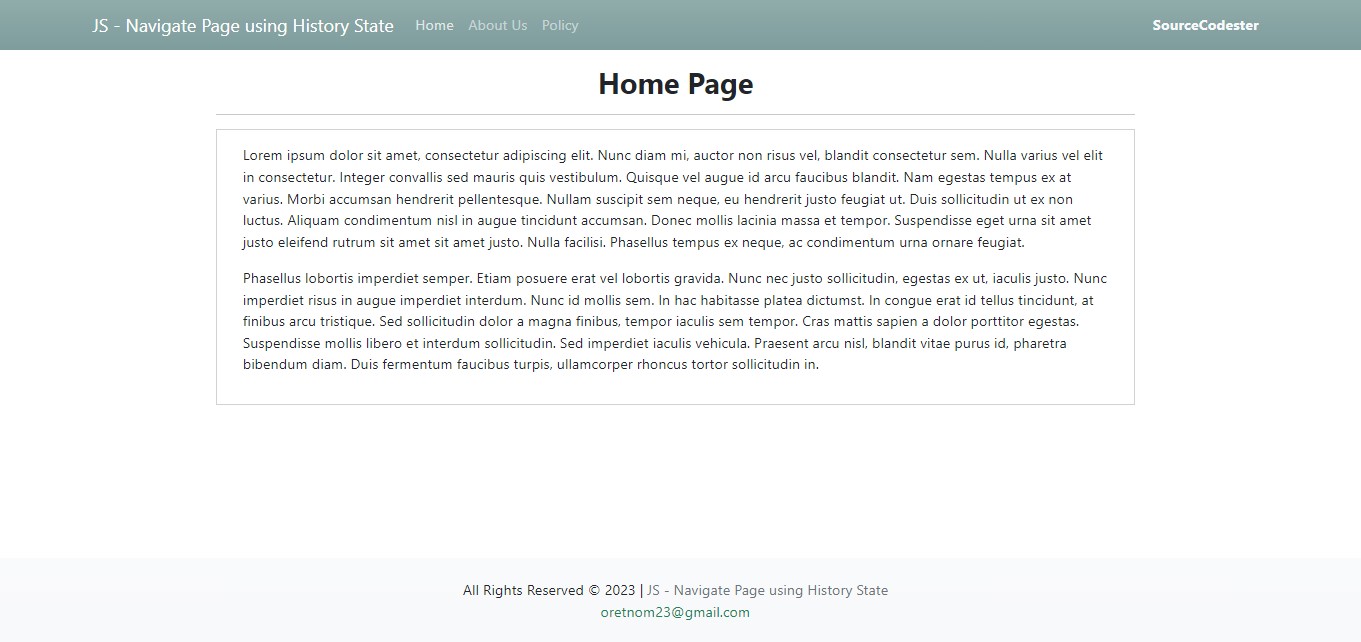
Here are some of the page snapshots of the sample application I created.

There you go! I hope this Navigating Page w/o Leaving the Page using JS Fetch and History PushState Tutorial helps you with what you are looking for and will be useful for your current and future web application projects.
Explore more on this website for more Tutorials and Free Source Codes.