Easy and Simple Deleting of MySQL Row using AJAX/jQuery
Submitted by nurhodelta_17 on Friday, September 1, 2017 - 21:00.
In this tutorial, I'm going to show you how to delete mysql row using ajax and jquery. We use ajax and jquery, so that, we don't need to reload the page after our action. You might want to learn How to Insert Data using Ajax/JQuery. This tutorial will not give you a good design but will give you idea on the topic.
Creating our Database
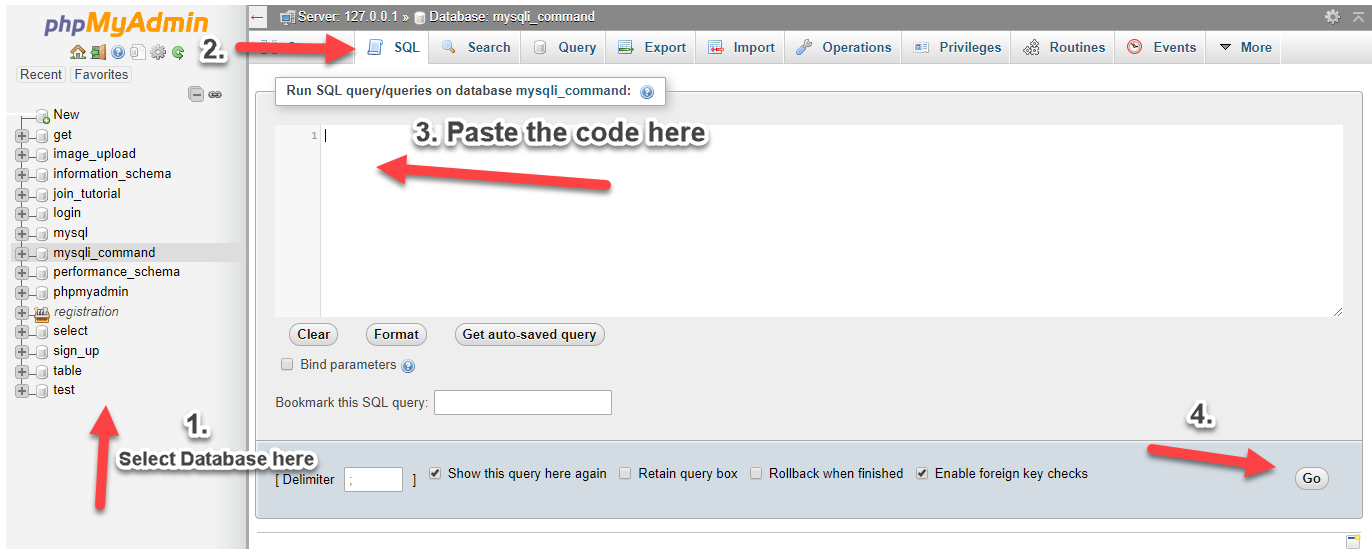
First, we're going to create our database. This will store our sample data. 1. Open phpMyAdmin. 2. Click databases, create a database and name it as "ajax_insert". 3. After creating a database, click the SQL and paste the below code. See image below for detailed instruction.- CREATE TABLE `post` (
- `postid` INT(11) NOT NULL AUTO_INCREMENT,
- `post_text` VARCHAR(200) NOT NULL,
- `date_time` datetime NOT NULL,
- PRIMARY KEY(`postid`)
- ) ENGINE=InnoDB DEFAULT CHARSET=latin1;
Inserting our Sample Data
Next Step is to insert our sample data into our database. 1.Click "ajax_insert" database that we have created earlier. 2.Click SQL and paste the below code.- INSERT INTO `post` (`post_text`, `date_time`) VALUES
- ('Ureka!', '2017-08-29 15:53:48'),
- ('I got it', '2017-08-29 16:23:59'),
- ('Hoooray', '2017-09-14 15:00:00'),
- ('Hello World!!!', '2017-09-21 20:00:00'),
- ('Hello Guys', '2017-09-13 08:00:00'),
- ('Hi', '2017-09-22 23:00:00');
Creating our Connection
Next step is to create a database connection and save it as "conn.php". This file will serve as our bridge between our form and our database. To create the file, open your HTML code editor and paste the code below after the tag.- <?php
- //MySQLi Procedural
- if (!$conn) {
- }
- ?>
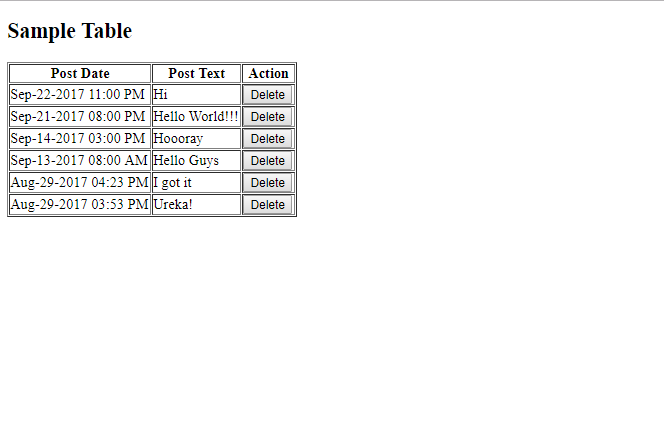
Creating our Landing Page
Next, we create a landing for our sample table. We name this as "index.php".- <!DOCTYPE html>
- <html lang = "en">
- <head>
- <meta charset = "UTF-8" name = "viewport" content = "width=device-width, initial-scale=1"/>
- <title></title>
- </head>
- <body>
- <h2>Sample Table</h2>
- <div id = "result"></div>
- </body>
- <script src = "jquery-3.1.1.js"></script>
- <script type = "text/javascript">
- $(document).ready(function(){
- showPost();
- $(document).on('click', '.delete', function(){
- var id = $(this).val();
- $.ajax({
- type: "POST",
- url: "delete.php",
- data: {
- id: id,
- delpost: 1,
- },
- success: function(){
- showPost();
- }
- });
- });
- /***** *****/
- });
- function showPost(){
- $.ajax({
- url: 'show_table.php',
- type: 'POST',
- async: false,
- data:{
- show: 1
- },
- success: function(response){
- $('#result').html(response);
- }
- });
- }
- </script>
- </html>
Creating our Delete Code
Next step is to create our delete code. We name this as "delete.php".- <?php
- include ('conn.php');
- $id=$_POST['id'];
- }
- ?>
Creating our Show Table Code
Lastly, we create our show table code that will show our table. We name this as "show_table.php".- <?php
- include('conn.php');
- ?>
- <div>
- <table border="1">
- <thead>
- <th>Post Date</th>
- <th>Post Text</th>
- <th>Action</th>
- </thead>
- <tbody>
- <?php
- ?>
- <tr>
- <td><?php echo $row['post_text']; ?></td>
- <td><button type="button" value="<?php echo $row['postid']; ?>" class="delete">Delete</button></td>
- </tr>
- <?php
- }
- ?>
- </tbody>
- </table>
- <br>
- </div>
- <?php
- }
- ?>