PHP - Simple Dynamic Inputs Using jQuery
Submitted by razormist on Friday, January 18, 2019 - 22:10.

In this tutorial we will create a Simple Dynamic Inputs Using jQuery. By using PHP, you can let your user directly interact with the script and easily to learned its syntax. It is mostly used by a newly coders for its user friendly environment. jQuery is a cross-platform JavaScript library designed to simplify the client-side scripting of HTML. So Let's do the coding...
 There you have it we successfully created Simple Dynamic Inputs Using jQuery. I hope that this simple tutorial help you to what you are looking for. For more updates and tutorials just kindly visit this site. Enjoy Coding!!!
Getting started:
First you have to download & install XAMPP or any local server that run PHP scripts. Here's the link for XAMPP server https://www.apachefriends.org/index.html. And this is the link for the jquery that i used in this tutorial https://jquery.com/. Lastly, this is the link for the bootstrap that i used for the layout design https://getbootstrap.com/.Creating Database
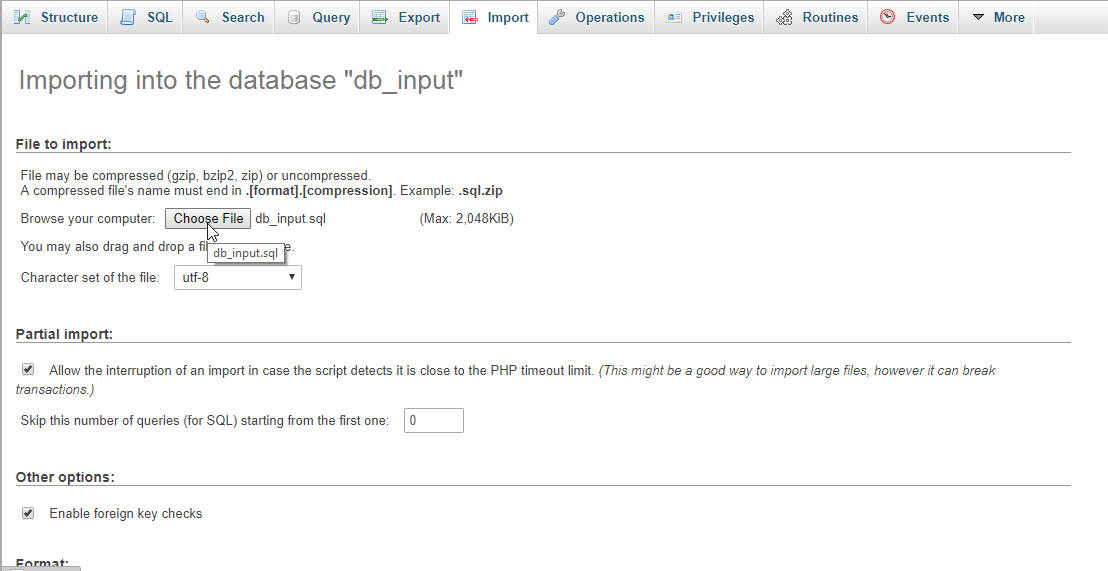
Open your database web server then create a database name in it db_input after that click Import then locate the database file inside the folder of the application then click ok.
Creating the database connection
Open your any kind of text editor(notepad++, etc..). Then just copy/paste the code below then name it conn.php.- <?php
- if(!$conn){
- }
- ?>
Creating The Interface
This is where we will create a simple form for our application. To create the forms simply copy and write it into your text editor, then save it as index.php.- <!DOCTYPE>
- <html lang="en">
- <head>
- <meta charset="UTF-8" name="viewport" content="width=device-width, initial-scale=1"/>
- </head>
- <body>
- <nav class="navbar navbar-default">
- <div class="container-fluid">
- <a class="navbar-brand" href="https://sourcecodester.com">Sourcecodester</a>
- </div>
- </nav>
- <div class="col-md-3"></div>
- <div class="col-md-6 well">
- <h3 class="text-primary">PHP - Simple Dynamic Inputs Using jQuery</h3>
- <hr style="border-top:1px dotted;"/>
- <div class="col-md-3"></div>
- <div class="col-md-6">
- <form method="POST" action="save.php">
- <div class="form-group">
- <input type="text" id="input" class="form-control"/>
- </div>
- <center><button type="button" id="add" class="btn btn-primary">Add Input</button></center>
- <br />
- <div id="input_container"></div>
- <center><button style="display:none;" name="submit" id="submit" class="btn btn-success">Submit</button></center>
- </form>
- </div>
- </div>
- <script src="js/jquery-3.2.1.min.js"></script>
- <script src="js/script.js"></script>
- </body>
- </html>
Creating PHP Query
This code contains the php query of the application. This code will save the data inputs to the MySQL database server. To do that just copy and write this block of codes inside the text editor, then save it as save.php.- <?php
- require_once 'conn.php';
- foreach($_POST['newInput'] as $key => $value){
- }
- }
- ?>
Creating The Script
This is where the main function of the application. This code will create a new input text every time the user click the add button. To do this just copy and write these block of codes inside the text editor, then save it inside the js directory as script.js.- $(document).ready(function(){
- $('#add').on('click',function(){
- var input = $('#input').val();
- if(input != ""){
- $('#submit').show();
- var newInput = $(
- '<div class="form-group">'
- +'<input type="text" name="newInput[]" placeholder="'+input+'" class="form-control" required="required"/>'
- +'</div>'
- );
- newInput.appendTo('#input_container');
- $('#input').val('');
- }else{
- alert("Please enter something");
- }
- });
- });