How To Make Bigger Image Viewer Using HTML JavaScript
Submitted by alpha_luna on Monday, June 1, 2015 - 22:37.
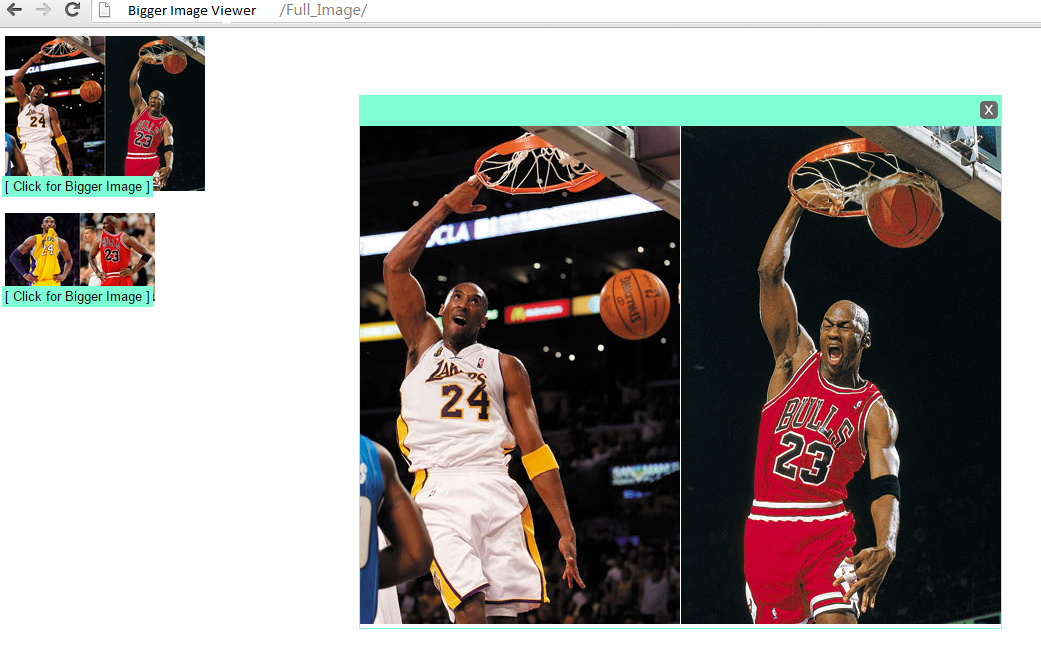
Have you encountered images that are so small or blur? These images need to be resized or zoomed in. There is a way to see this kind of images clearly. It is called "Bigger Image Viewer".
In this tutorial, we are going to learn How To Make Bigger Image Viewer.
So, what is it all about?
From the name itself, Bigger Image Viewer automatically adds a caption beneath the images of your choice that when clicked on launches a bigger and clearer version of the image. There may be alteration from the original image to the enlarged version due to the process. The original image loads only to form an enlarged size when requested.
Directions:
First: Kindly add this code below to the HEAD section of your page.
Note: DOWNLOAD the sourcecode for the external files. (click the "Download Code" below)
Second: Just add the sample code to the BODY section of your page.
The two attributes inside the IMG tag:
- data-plusimage: This is the full URL or a path to enlarged our image. Example, http://www.sourcecodester.com/sites/default/files/result_13.png or Images/picture.jpg.
- data-plussize: This is for the width and height for our enlarged image. The format is "w,h".

